
Epoxy floor coatings are becoming increasingly popular due to their durability, aesthetic appeal, and adaptability. Whether you’re upgrading your home’s interior or sprucing up your outdoor space, applying epoxy over tiles is a cost-efficient and practical solution. However, achieving a flawless finish requires careful preparation and execution. This guide will take you through the process step by step, answering common questions like “Can you epoxy over tile?” and sharing tips for ensuring proper adhesion and longevity.
Why Choose Epoxy Over Tile?
Epoxy flooring provides several benefits:
- Durability: With its resistance to wear, stains, and water, epoxy is ideal for high-traffic areas.
- Custom Designs: Exterior epoxy floor paint with flakes can create a non-slip, visually appealing surface at an affordable price.
- Cost Efficiency: While epoxy flooring can vary in cost, it’s generally more economical than replacing tiles or other materials.
At Epoxy Classes NY, we provide comprehensive training to help you feel confident in applying epoxy to tiles and other surfaces.
Step-by-Step Guide to Applying Epoxy Over Tile
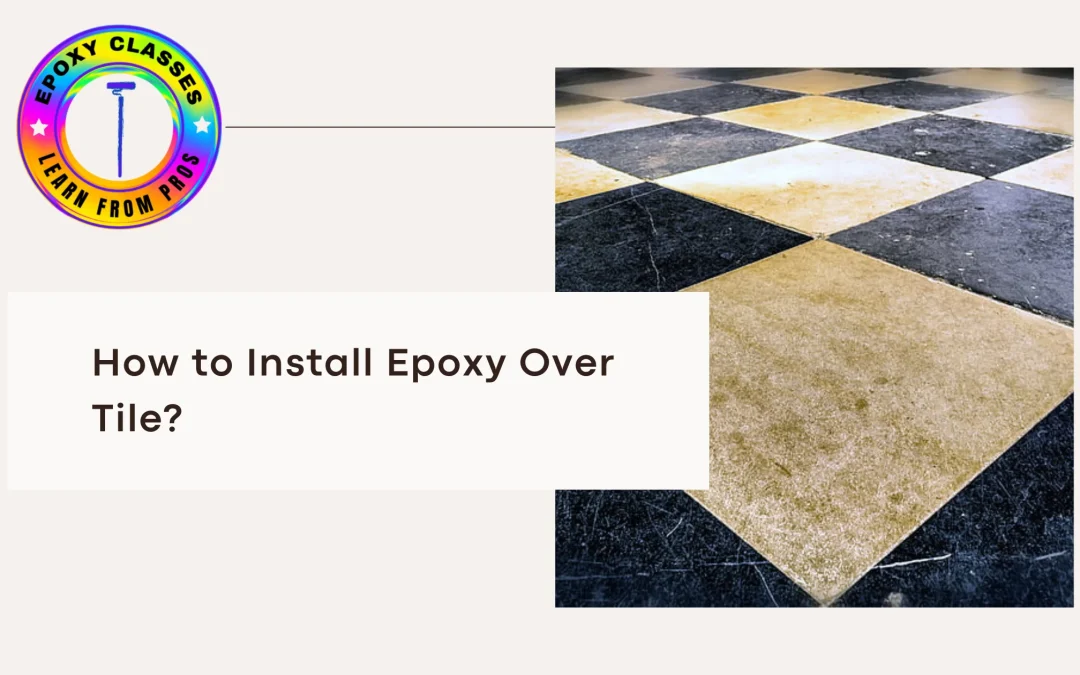
Step 1: Inspect Your Tile Floor
Check the condition of your tiles for cracks or loose pieces. Address any damage before moving forward, as imperfections can impact the final result.
Step 2: Prepare the Surface
Proper preparation is essential:
- Clean Thoroughly: Eliminate all dirt, grease, and debris.
- Sand the Tiles: Use a diamond grinder or orbital sander to create a rough texture for better epoxy adhesion.
- Fill Grout Lines: Uneven grout lines should be smoothed using a filler compound. Alternatively, sand the tiles flush with the concrete, though this approach requires more time and effort.
- Apply Self-Leveler: A thin coat of self-leveling compound can create a seamless surface, minimizing the need for extensive sanding.
Step 3: Apply a Primer
If sanding isn’t feasible, use a high-quality primer to help the epoxy bond effectively with the tiles.
Step 4: Mix and Apply Epoxy
Follow the manufacturer’s guidelines when mixing epoxy resin and hardener.
- Spread the epoxy evenly with a roller or squeegee.
- For decorative effects, such as a metallic or marble finish, apply a base coat first. Once cured, layer on your chosen colors.
- To add texture, consider using decorative flakes or specialized floor paints.
Step 5: Cure the Epoxy
Allow the epoxy to cure as per the product’s instructions, typically 24–48 hours, before stepping on it. Proper curing ensures durability and longevity.
FAQs About Installing Epoxy Over Tile
- Can you epoxy over tile?
Yes, with proper preparation such as sanding and priming, you can achieve excellent results. - How much does epoxy flooring cost?
Costs vary based on materials and installation. DIY options can reduce expenses, but professional work offers guaranteed quality, with prices ranging from $4 to $30 per square foot. - Can you tile over a tile floor instead of using epoxy?
While tiling over tile is possible, it’s less durable and more labor-intensive compared to epoxy application. - What’s the best epoxy resin for tiles?
Choose high-quality products designed specifically for tile applications. - Can epoxy be used on exterior tiles?
Absolutely! Epoxy is an excellent choice for outdoor areas, such as patios, offering enhanced weather resistance.
Benefits of Learning Epoxy Application
At Epoxy Classes NY, we empower individuals to master epoxy flooring techniques. Whether you’re a DIY enthusiast or aspiring professional, our weekend classes equip you with the skills to create stunning results on tiles and other surfaces.
- Get certified in just three days.
- Learn to work with materials like epoxy floor paint and epoxy resin.
- Master techniques for decorative finishes, including flakes and smooth coatings.
Contact Us Today
Call us at 631-305-1035 or email newyorkepoxy@gmail.com to enroll in our next class.
Transform your space with epoxy floor coatings that offer a sleek, durable finish. By learning and applying these skills, you open the door to endless possibilities for both personal and professional projects.