Epoxy garage floors offer a durable, attractive, and easy-to-maintain solution for upgrading your garage. With a sleek finish that resists stains, chemicals, and wear, epoxy can turn your old concrete slab into a modern, high-performance surface. If you’re ready to tackle this DIY project, here’s a comprehensive guide to help you through the installation process.
Materials and Tools You’ll Need
Before starting, gather the following materials and tools:
- Epoxy floor coating kit (includes epoxy resin and hardener)
- Concrete degreaser and cleaner if your concrete is older
- Floor grinder
- Epoxy primer (if recommended by the epoxy kit)
- Paint roller with an extension pole
- Paintbrushes (for edges and corners)
- Squeegee or spreader, recommended notched 3/16
- Safety gear (gloves, goggles, and mask)
- Bucket for mixing
- Mop or cloths for cleaning
- Drop cloths or plastic sheeting (to protect surrounding areas)
![]()

![]()
Step 1: Prepare the Garage Floor
- Clean the Surface: Start by thoroughly cleaning the garage floor. Remove all items and sweep up dust and debris. Use a concrete degreaser to eliminate any oil or grease stains. For stubborn stains, you might need a scrubbing brush.
- Grind the Concrete: To ensure proper adhesion of the epoxy, you’ll need to grind the concrete surface. This can be done using a floor grinder. The surface should feel slightly rough after grinding, your goal is to basically remove the “cap” off the top of the concrete.
- Vacuum + Remove more Dust: After grinding, you should use an industrial vacuum or a shop vacuum to suck up any extra dust or debris, and go over the slab with denatured alcohol or acetone.
Step 2: Repair Any Damage
Inspect the concrete for any cracks or holes. Fill these with a concrete patching compound and smooth them out. Allow the patches to dry and cure as per the manufacturer’s instructions.
Step 3: Apply the Epoxy Primer
If your epoxy kit includes a primer, apply it according to the instructions. The primer enhances adhesion and helps the epoxy coat adhere better to the concrete surface. Use a paint roller to apply an even coat, focusing on covering all areas. Allow the primer to dry completely.
Step 4: Mix and Apply the Epoxy
- Mix the Epoxy: Follow the instructions on your epoxy kit for mixing the resin and hardener. Typically, you’ll combine them in a large bucket, stirring thoroughly to ensure a uniform mixture. Work in small batches to prevent the epoxy from setting before application.
- Apply the Epoxy: Pour the mixed epoxy onto the floor in small sections. Use a squeegee or spreader to distribute the epoxy evenly. Work in manageable areas to avoid overlapping or uneven coverage. For edges and corners, use a paintbrush to ensure complete coverage.
- Roll the Epoxy: After spreading, use a paint roller to smooth out the epoxy and eliminate any roller marks. Apply in a consistent pattern, maintaining a wet edge to ensure a seamless finish.
Step 5: Add Decorative Flakes (Optional)
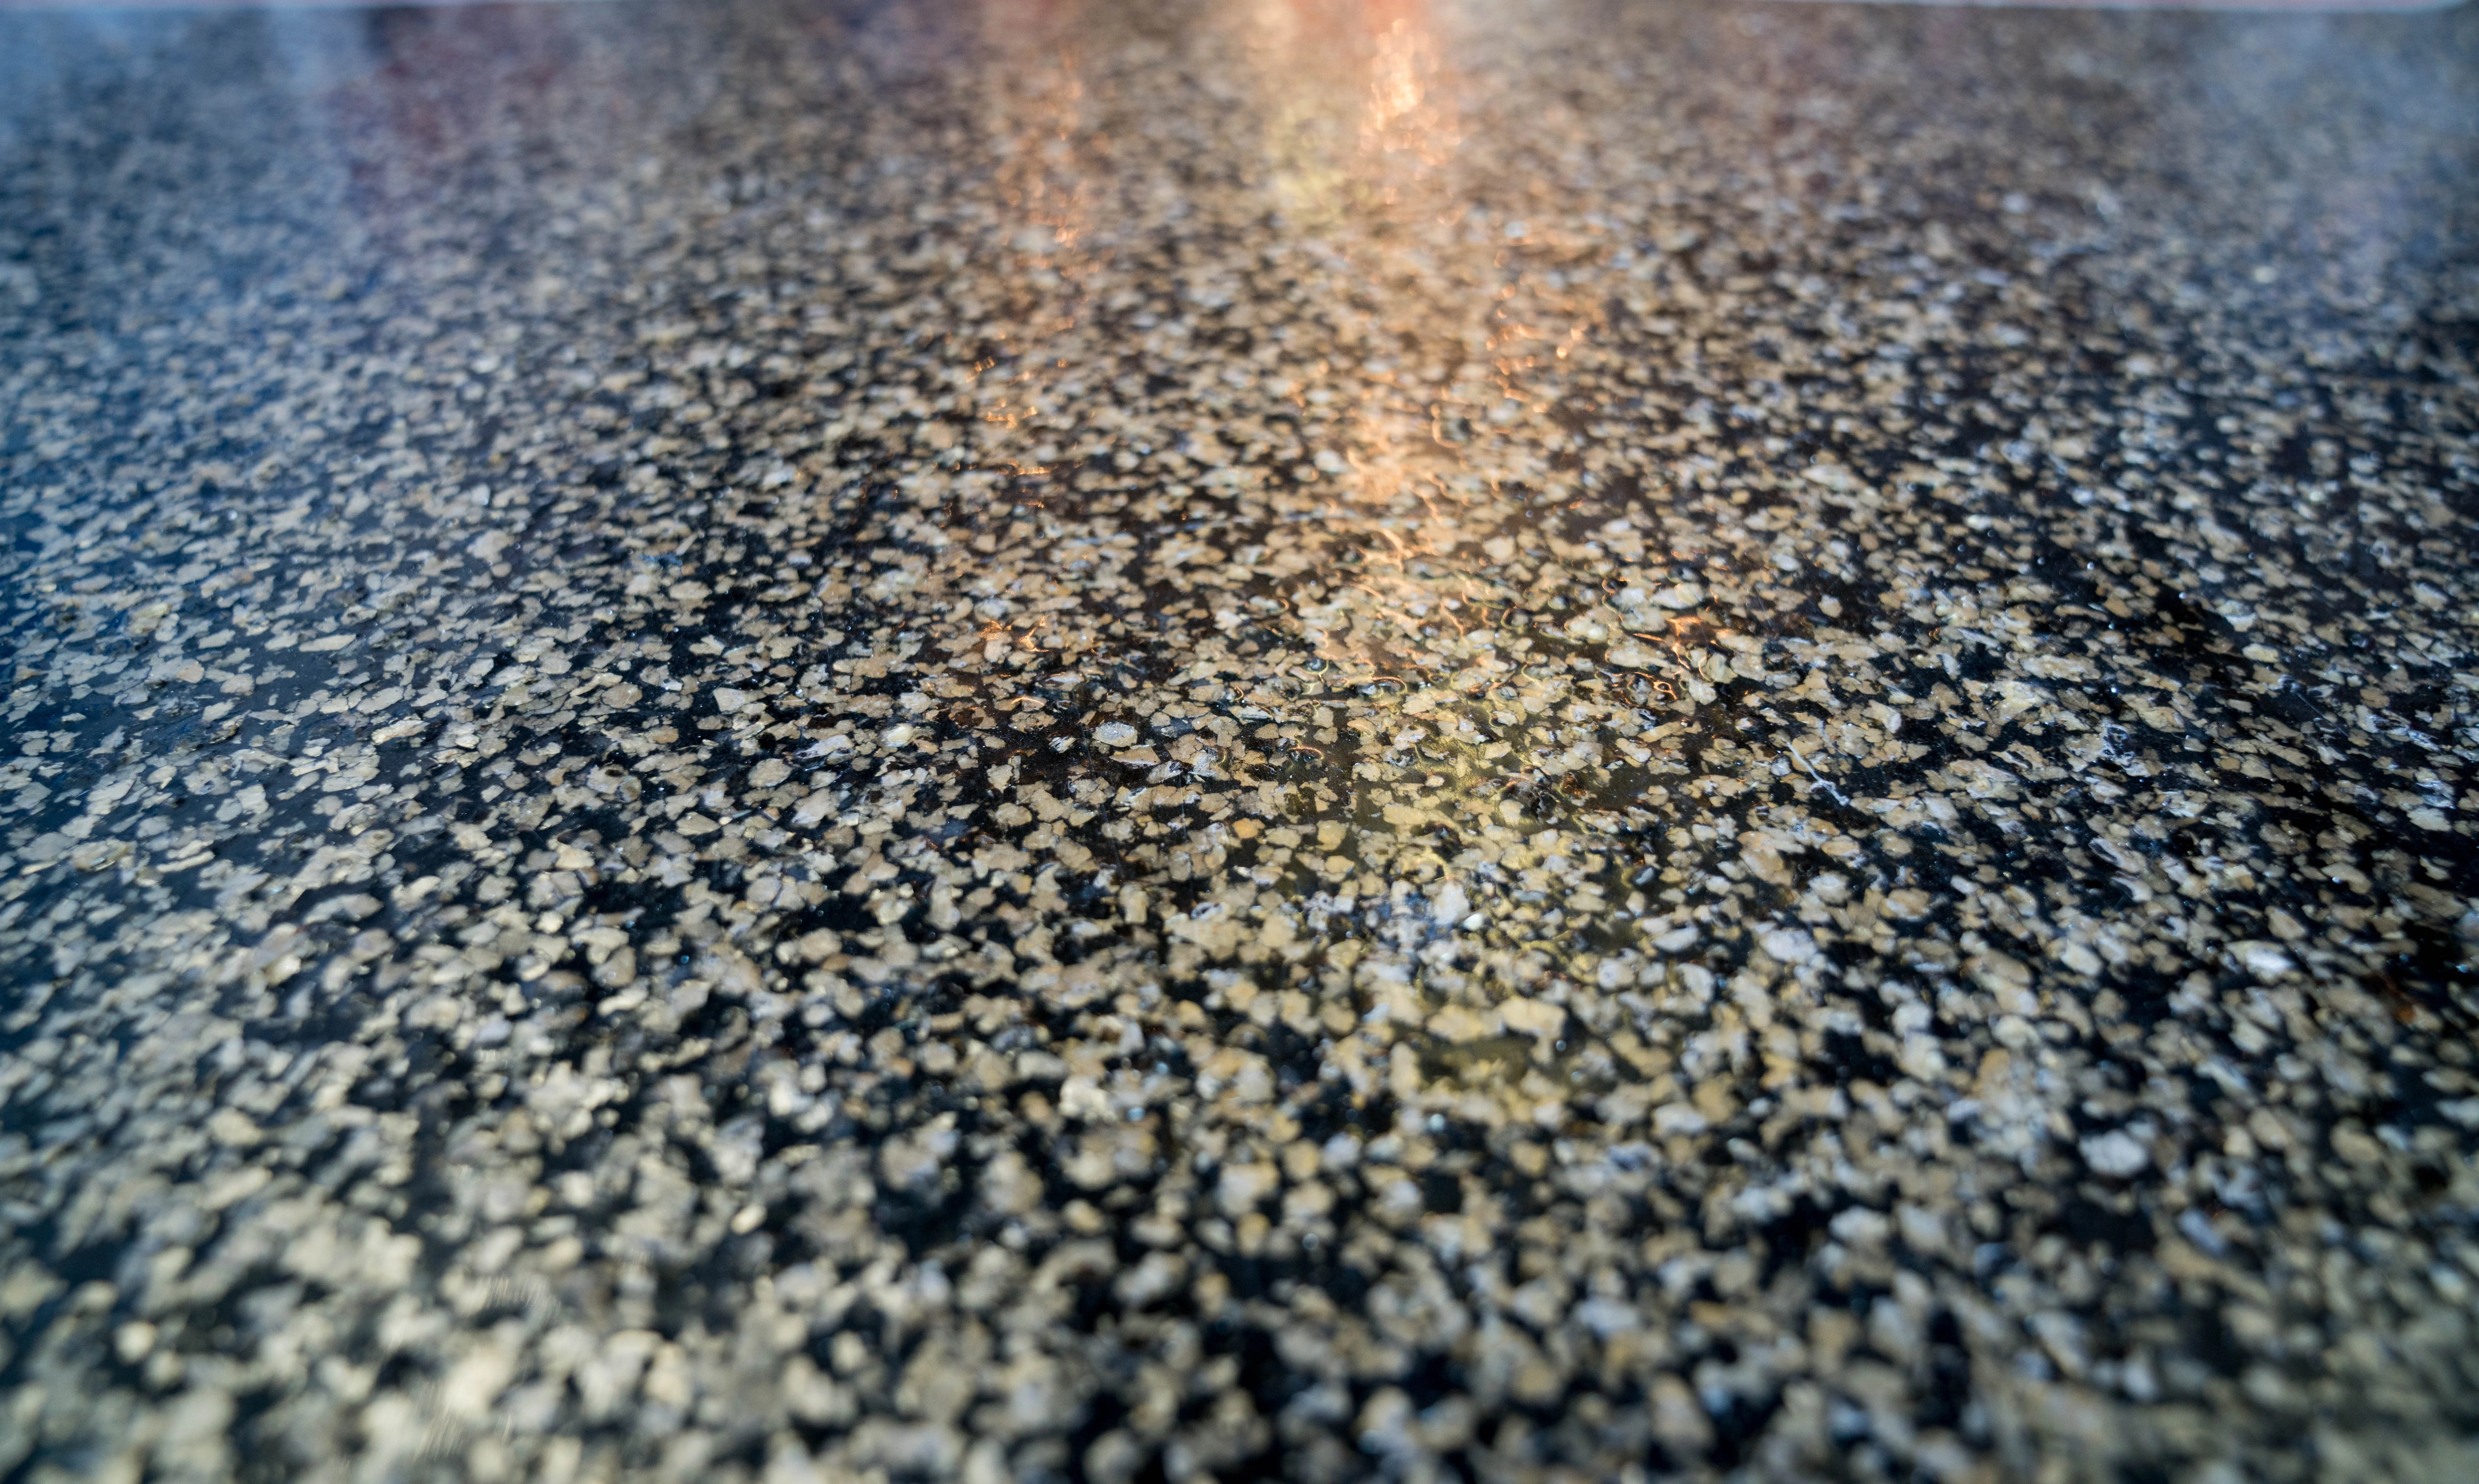
If your epoxy kit includes decorative flakes or chips, broadcast them onto the wet epoxy while it’s still tacky. This adds texture and visual interest to the floor. Be sure to follow the manufacturer’s recommendations for the amount and distribution of flakes.
Step 6: Allow to Cure
After applying the epoxy, allow it to cure as per the manufacturer’s instructions. This typically involves letting the floor dry for at least 24 hours before light use and up to 7 days for heavy use. Ensure the garage is well-ventilated during this period to help the curing process.
Step 7: Apply topcoat
You will need to use a polyaspartic topcoat to seal in the flakes and provide further protection against UV and scratching. Follow manufacturer’s instructions for this process.
Step 8: Final Touches
Once the epoxy has fully cured, remove any painter’s tape or plastic sheeting. Reorganize your garage, and enjoy your newly transformed space!
