NEXT CLASS: AUGUST 28-30 • LIMITED SPOTS

Blog

Blog

How Long Does Epoxy Flooring Last?

Epoxy flooring provides a durable and attractive surface for many different environments. Most property owners want to know one thing: how long will this floor actually last? On average, a professional epoxy floor lasts between 5 and 20 years. However, the lifespan of an epoxy floor can vary greatly because a floor’s life depends on more than just the material. The environment, the quality of the installation, and your daily cleaning habits all play major roles in the floor’s survival. How Long Epoxy Flooring Lasts in Different Environments The location where the floor is installed can have a significant impact on its lifespan. Why Some Epoxy Floors Fail Prematurely Many homeowners purchase “DIY” water-based epoxy kits from retail stores. These products typically last only 1 to 3 years. Professional systems outlast these kits because they use 100% solids epoxy, which creates a much thicker and more resilient layer. These are the critical factors that influence durability: Surface Preparation The life of the floor is determined by the bond between the epoxy and the concrete. To “open” the pores of the concrete, professionals use diamond grinding or shot blasting. This creates a mechanical “lock-and-key” bond. DIY methods such as acid etching often don’t provide enough texture, which can peel and delaminate within months. Coating Thickness Thickness is measured in “mils” (one-thousandth of an inch). A standard DIY kit might be only 4 to 10 mils thick, whereas a professional industrial system can range from 25 to 45 mils or more. A thicker floor can handle greater pressure and lasts much longer than a thin coating. Moisture and Chemistry Concrete slabs naturally release moisture vapor. If the slab does not have a proper vapor barrier, this moisture can build up under the epoxy and cause osmotic blistering. Professionals perform moisture tests (like the ASTM F2170 probe) before they start to ensure the floor will not bubble or lift later on. How Epoxy Flooring Compares to Other Concrete Coatings Here is a comparison of epoxy against other popular concrete coating technologies. Flooring Technology Residential Lifespan Commercial Lifespan Industrial Lifespan Key Strength Standard Epoxy 10-20 Years 7-15 Years 5-10 Years Superior Adhesion Polyaspartic 15-30 Years 10-20 Years 5-10 Years UV Stable & Fast Cure Polyurethane Cement 20-30 Years 15-25 Years 15-25 Years Thermal Shock Resistance Polished Concrete 20+ Years 10-15 Years 5-7 Years Low Maintenance (Dry) Latex Floor Paint 1-3 Years < 1 Year N/A Lowest Initial Cost How Hybrid Flooring Systems Increase Longevity Many premium flooring systems use more materials along with epoxy to increase durability, such as: When these materials are also used, the flooring system can last longer and perform better in frequently used environments. Tips to Extend the Life of Your Epoxy Floor You can significantly extend the life of your floor by following these simple rules: When Is It Time to Redo the Floor? You will not always need a complete replacement. If the floor is less than 30% damaged, you can often refurbish it. In this process, the top layer is sanded, and a fresh topcoat is applied to restore the original gloss and protection. Signs of Potential Floor Problems: In Summary Epoxy flooring is a significant improvement over plain concrete, but its long life depends on various factors. When it is installed by professionals who use high-quality materials and proper surface preparation, it can last around 15 to 20 years. Moreover, regular maintenance of your floor can keep it strong, good-looking, and useful for many years.
How to Color Epoxy Resin
Blog

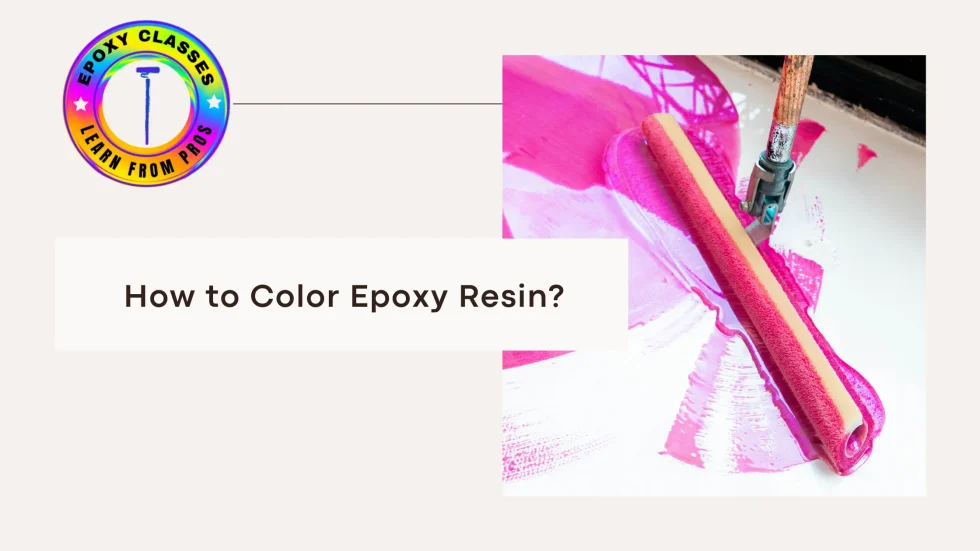
How to Color Epoxy Resin?

Epoxy resin is a versatile material used in various applications, from crafting to industrial projects. One of its most appealing features is its ability to be colored to achieve desired effects. Whether you’re creating stunning jewelry, vibrant artwork, or functional objects, understanding how to color epoxy resin is essential. Choosing the Right Coloring Method There are several ways to color epoxy resin. The most common methods include: Popular Coloring Products When it comes to coloring epoxy resin, several popular brands and products are available: Tips for Coloring Epoxy Resin Why Choose Epoxy Classes NY? Epoxy Classes NY is your one-stop shop for all your epoxy resin needs, from learning the craft to finding the perfect colors for your project. Here’s what sets us apart: Beyond Products: Conclusion-How to Color Epoxy Resin? Coloring epoxy resin is a creative process that allows you to customize your projects and achieve stunning results. By understanding the different methods, products, and tips, you can confidently experiment with colors and create unique pieces. Remember to explore the vast range of coloring options available at Epoxy Classes NY and have fun with your creative endeavors! FAQs Can you put resin on glass?  Yes, epoxy resin can be applied to glass surfaces. It’s often used to create beautiful coasters, jewelry, and decorative items. What color is resin? Resin is typically clear or slightly amber-colored in its natural state. Epoxy resin coloring: Epoxy resin can be colored using pigments, dyes, or paints. Table of dyes: A table of dyes can be found online or in specialized resin catalogs, providing information about colors, opacity, and compatibility. How to make resin opaque: To make resin opaque, use pigments or a combination of pigments and dyes.

How Much Does It Cost to Epoxy 2 Car Garage
Blog

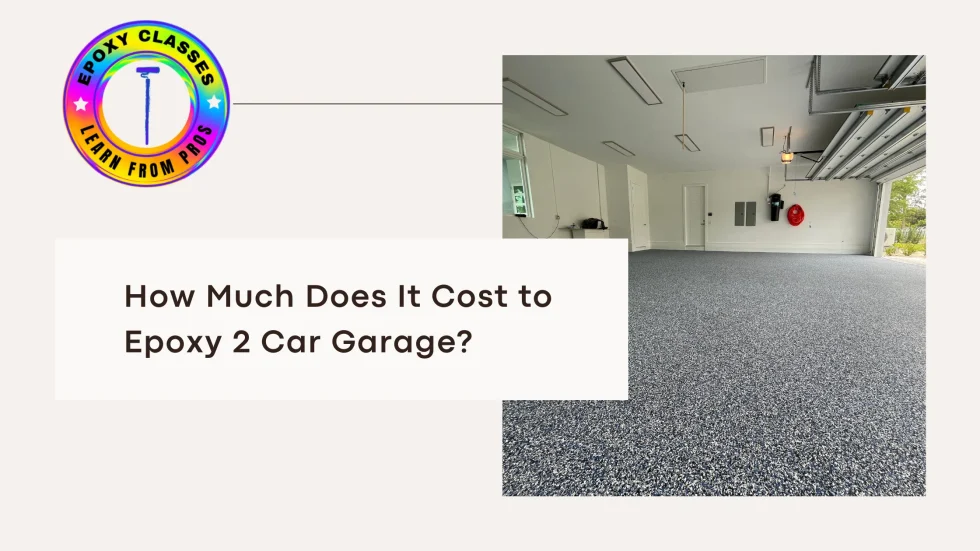
How Much Does It Cost to Epoxy 2 Car Garage?

Considering epoxy flooring for your garage? It’s sleek, tough, and shiny. But, how much does it cost to epoxy 2 car garage? Let’s review the epoxy garage floor cost, factors, and benefits. Is it worth it? Check the numbers to see if epoxy’s durability fits your budget and needs.Learn epoxy flooring skills in our classes at Epoxy Classes in Upstate New York. Master surface prep, application, sanding, and polishing for flawless floors.Calculate epoxy floor coating cost per sq ft. Choose the right materials. We’ll help you create stunning finishes.Enroll today. Learn the secrets of stylish, durable epoxy garage floors! Perfect your craft. What Is the Average Cost for Epoxy Garage Floor? Epoxy a standard 2-car garage $1,200 to $6,000. It depends on factors like garage size, epoxy type, and if you DIY or hire a pro.Epoxy floor coating costs $3 to $12 per sq ft. Some premium options, like metallic epoxy, can cost $15 per sq ft. Factors That Affect the Epoxy Flooring Price Garage Size Epoxy flooring costs depend on garage size. A typical 400-500 sq ft two-car garage is among the cheapest. Larger garages, like three-car ones, cost more due to their size. So, plan to upgrade your garage floor. This coating is both durable and attractive. Type of Epoxy Professional vs. DIY Hiring a pro to install an epoxy garage floor price can rise due to labor charges. For DIY, the DIY epoxy flooring cost ranges from $2-$5 per sq ft, depending on the kit and tools used. Breakdown of Epoxy Garage Floor Cost Garage floor upgrades vary in price. Basic sealing costs $1-$3 per square foot. Epoxy coatings range from $3 to $12. Premium metallic epoxy costs between $8 and $15. A complete garage project usually costs $1,200 to $6,000. DIYers can buy materials for $200 to $800. However, professional work ensures better durability. Prices depend on quality, prep needs, and complexity. So, consider your budget and skills. The best choice balances cost and quality. Is an Epoxy Garage Floor Worth It? Absolutely! While the initial garage epoxy floor cost might seem high, it offers excellent value. Benefits include. Epoxy or painted garage floors that resist chemicals, stains, and heavy loads. They can have speckled or sprinkled designs for a polished look. Moreover, these surfaces are easy to clean and require little maintenance. Buyers often find them appealing, which can boost property value. Thus, these floors combine durability, attractiveness, practicality, and style. Epoxy 2.5 Car Garage Floor Cost For a 2.5-car garage, epoxy costs $1,500 to $7,500, depending on the features. This includes the cost of epoxy garage floor and installation fees. Garage Floor Coating Price for a 24×30 Garage A professional installs a 24×30 foot garage for $2,000 to $9,000. Meanwhile, DIYers can save money but need more time and skill. The decision depends on your budget, skills, and goals. Low-Cost Garage Flooring Alternatives Homeowners on a budget can upgrade garage floors with acrylic coatings or basic paint. These cheap options suit light use but fall short in durability compared to epoxies. While less lasting, they still provide a temporary boost for DIYers with limited funds. Professional Epoxy Garage Floor vs. DIY: What’s Best? And you can train through our classes to the flawless floor. How Much Does It Cost to Build a 24×30 Garage? A new 24×30 garage costs between $30,000 and $50,000. Consider adding an epoxy floor coating. This upgrade, not included in the base price, boosts durability and looks. It makes your garage more functional and attractive. Final Thoughts on How Much Does It Cost to Epoxy 2 Car Garage? Transform your garage with strong, stylish epoxy flooring. Prices vary by size, materials, and installation. This solution adds both durability and beauty to your space. But it offers great value and long-term benefits. A professional epoxy garage floor install or a DIY option can transform your space. With expert help, you can achieve a stunning, functional finish. Ready to start? Take the first step to upgrade your garage today! Sign up to improve your skills and discover stylish finishes. Estimate costs, make smart choices, and upgrade your spaces. FAQs How much cost for metallic epoxy floor? Metallic epoxy flooring costs $8 to $15 per square foot. It upgrades garages to luxurious spaces. This finish is unique and enhances high-end garage designs. How do I calculate the epoxy garage floor price for my garage? To estimate epoxy flooring for your garage, multiply its area by $3–$12 per square foot. Also, consider costs for surface prep, special finishes, and labor. This gives you a rough project cost. How much does epoxy floor coating cost per sq ft? Epoxy floors cost between $3 and $12 per square foot. Metallic ones are pricier, reaching up to $15. Prices depend on quality and complexity.

How Long After Epoxy Can You Clear Coat
Blog

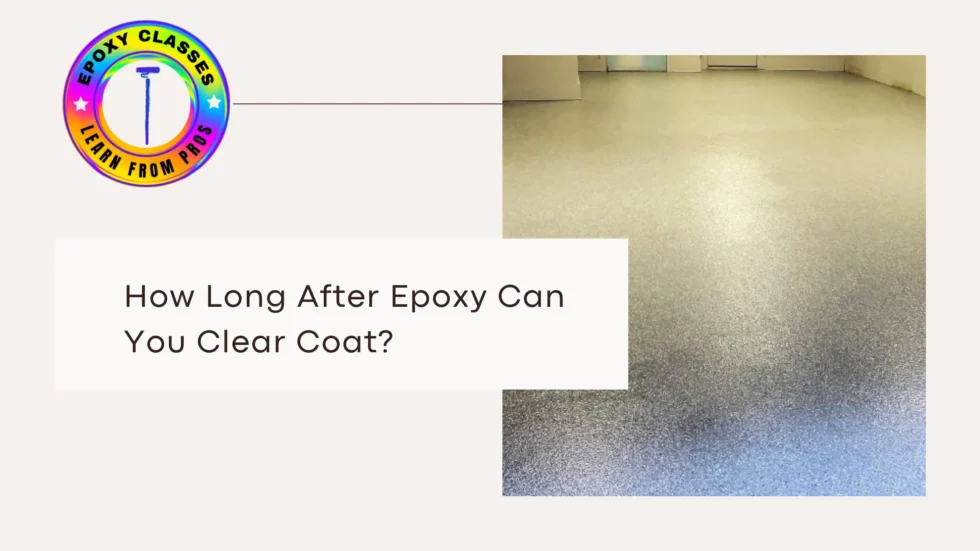
How Long After Epoxy Can You Clear Coat?

In epoxy flooring, timing is crucial for a perfect finish. Considering a clear coat? You might wonder, “How long does epoxy paint take to dry?” or “How long does it take epoxy floor to cure?” Don’t worry! We’ll explain drying and curing times. Plus, we’ll tell you when to add the clear coat for the best results. Understanding Epoxy Drying and Curing Times Before applying the clear coat, let’s clarify drying and curing. Drying makes the epoxy touch-dry. Curing hardens it completely. This process is crucial for durability. Knowing the difference ensures your finish lasts. How Long Does Epoxy Paint Take to Dry? Epoxy paint is affected by its environment. Key factors include temperature, humidity, and the type of epoxy. Usually, it becomes touch-dry in about 6 to 12 hours. However, it’s not ready for heavy use or additional layers yet. How Long Does It Take Epoxy Floor to Cure? The epoxy floor cure time requires 3 to 7 days. This timeframe hinges on your environment’s whims. Full curing unleashes the floor’s ultimate strength and chemical resilience. Planning to add a clear coat for epoxy paint? Don’t rush! Wait until the epoxy is fully or partially cured. This precaution will protect the surface from potential damage. How Long Does Garage Floor Epoxy Take to Dry? Epoxy drying times for garage floors may vary. This is due to different floor materials and application thickness. On average: This timeline ensures your garage floor epoxy is ready for light use and further coatings. How Long Does It Take Epoxy Floor to Dry? If you’re asking, epoxy how long to dry? It’s complex. It depends on the product and the environment. Usually, wait 24 hours before adding a clear coat on epoxy floor. This wait ensures the epoxy sets properly for a perfect finish. When to Apply a Clear Coat on Epoxy Floor A clear coat will improve your epoxy floor’s look and durability. But timing is everything. Here’s what you need to know: How Long Does It Take for Epoxy Floor to Dry Before Clear Coating? Wait 24 to 48 hours before adding a clear coat to your epoxy floor. This allows the epoxy to set properly and protects the layer below. If unsure, check the manufacturer’s guidelines. Benefits of Clear Coating Your Epoxy Floor Adding a clear coat for epoxy paint provides several advantages: Factors Affecting Epoxy Drying and Curing Times Step-by-Step Guide to Applying a Clear Coat If you’re ready to apply a clear coat on epoxy floor, follow these steps: 1.Prepare the Surface: 2.Mix the Clear Coat: 3.Apply the Clear Coat: 4.Allow for Drying and Curing: Learn Professional Epoxy Techniques with Epoxy Classes NY To master epoxy flooring and clear coating, take classes at Epoxy Classes NY. These classes are for those seeking to master epoxy applications. They cover drying times, curing processes, and clear coating techniques. Safety Considerations for Epoxy Flooring Handle all epoxy materials with care. Follow the manufacturer’s instructions for mixing and applying. For more safety guidelines, see trusted sources like the EPA. Prioritizing safety ensures a smooth application process. It also protects your health. Final Thoughts: How Long After Epoxy Can You Clear Coat Timing is the key for stunning epoxy floors. Wondering, “How long until my garage epoxy dries?” or “When can I slap on that clear coat?” It’s crucial to stick to drying and curing guidelines for a picture-perfect finish. Ready to plunge into the epoxy universe? Look no further than Epoxy Classes NY. Remember, patience and precision are your trusty sidekicks in crafting professional results! FAQs Where can I learn more about epoxy applications? For expert advice on epoxy, drying times, and clear coating, enroll in Epoxy Classes NY to master these skills. Why is it important to wait for epoxy how long to dry before adding a clear coat? Rushing the process can cause adhesion issues and surface damage. Waiting ensures a durable bond and a flawless finish for your epoxy floors.’ What factors influence epoxy floor dry time? Drying time depends on the temperature, humidity, ventilation, and epoxy thickness. Thicker applications require more time to dry and cure. Can I apply epoxy paint clear coat immediately after drying? No. Even if epoxy feels dry to the touch in 6 to 12 hours, you should wait 24 to 48 hours to apply a clear coat. This ensures the epoxy is set properly.

How to Get Epoxy Resin Off Hands
Blog

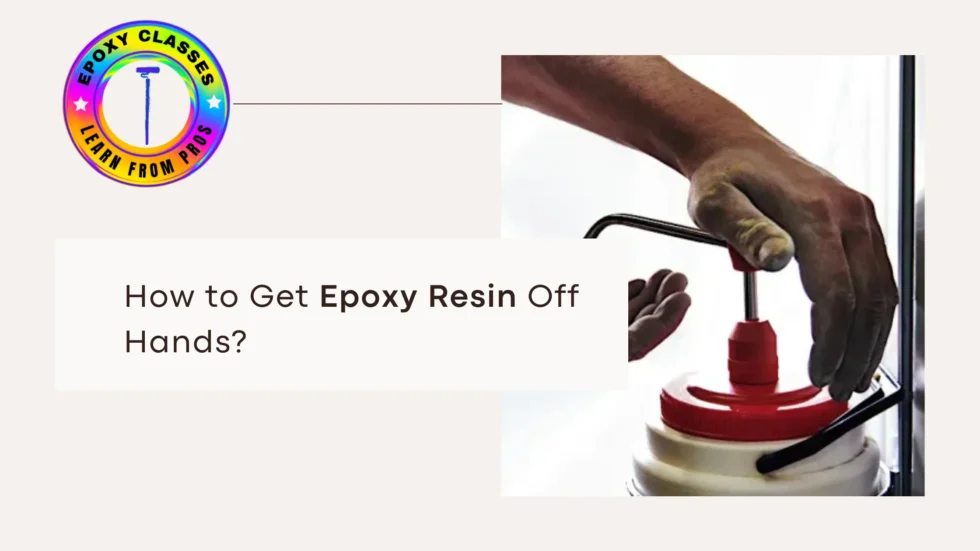
How to Get Epoxy Resin Off Hands

How to Get Epoxy Resin Off Hands: A Complete Guide Epoxy resin is a versatile material. It’s used in art, furniture, and industry. But if you’ve worked with it, you know it can stick to skin. So, what happens when you get epoxy on your skin? At first, it may feel harmless. But with time, it can cause irritation, allergic reactions, or even chemical burns. Knowing how to safely remove epoxy resin from your skin is important. This helps you avoid discomfort and health risks. In this guide, we’ll share ways to free your hands from resin’s grip. Get ready for practical cleaning methods and smart tips to keep your fingers clean in the future. What Happens If You Get Epoxy Resin on Your Hands? In the world of epoxy, resin on your skin is a common problem, especially without gloves. So, what if epoxy stays on your skin? Fresh, uncured resin clings like an unwanted guest. It won’t wash off with just soap and water. If you leave it too long, it can cause: Act quickly to prevent these problems. Use the right methods to remove resin from your hands before it fully cures. How to Get Epoxy Off Hands: Safe and Effective Methods 1.Soap and Warm Water (For Fresh Resin) If epoxy resin has stained your skin, don’t worry! Wash your hands right away with warm, soapy water. This tip works well for small spills. But be careful—it’s not a fix for stubborn resin that has begun to cure. 2.Vinegar for Removing Resin from Skin Vinegar is your gentle ally against sticky resin. Soak a cloth in this tangy liquid and rub it on the area. This natural solution breaks down epoxy adhesive easily, while being kind to your skin. 3.Acetone to Remove Epoxy When soap and vinegar don’t work, try acetone. This powerful ingredient is in nail polish remover. It can tackle stubborn epoxy resin. While it dissolves the sticky residue on your skin, it may leave your hands dry. After rinsing well, remember to use moisturizer to soothe your hands. 4.Baking Soda and Dish Soap for Sticky Residue When your hands feel sticky, use a mix of baking soda and dish soap. This duo makes a gentle scrub that removes the sticky resin. Plus, it treats your skin well, without harsh chemicals. 5.Citrus-Based Hand Cleaners Many industrial hand cleaners contain citrus oils, which are great for cleaning up epoxy resin. Using a citrus cleaner on your hands can help dissolve and remove resin easily. 6.Isopropyl Alcohol for Removing Epoxy from Skin Isopropyl alcohol is another good option for how to remove epoxy resin from skin. It works best on fresh resin on skin and should be followed by washing your hands with soap and water. 7.Baby Oil or Coconut Oil for Stubborn Resin If epoxy is still stuck, applying baby oil or coconut oil can help soften the cured epoxy on skin. Massage the oil into the affected area, wait a few minutes, and then scrub gently. 8.Use a Pumice Stone for Cured Epoxy To remove cured epoxy from skin, gently rub the area with a pumice stone. This method helps get rid of the hardened residue without harming your skin. How to Remove Epoxy from Clothes and Surfaces How to Remove Epoxy from Clothes If you accidentally get epoxy on your clothes, do not rub it in. Instead: How to Get Resin Off Wood When epoxy spills on wood surfaces: Preventing Epoxy from Sticking to Your Hands The best way to get resin off hands is to avoid getting it on your skin in the first place. Here are some preventive measures: Learn More About Working with Epoxy Safely Proper handling of epoxy is essential for safety and efficiency. If you want to master epoxy techniques and safety measures, check out Epoxy Classes NY for expert training. Learn professional tips on handling, cleaning, and using epoxy resin like a pro. OSHA Safety Guidelines for Epoxy Handling Always wear protective gear. This includes nitrile gloves, goggles, and a mask when using epoxy resin. Make sure your workspace has good airflow. This helps you avoid breathing in fumes and keeps your skin safe from irritation. Follow proper storage and disposal practices to maintain a safe and clean environment. Final Thoughts: How to Get Epoxy Resin Off Hands? To remove epoxy resin from your hands, act quickly and use the right methods. Act quickly, whether you’re using soap, vinegar, acetone, or natural oils. This helps prevent skin irritation or allergic reactions. You can work safely with epoxy by using good prevention and cleaning methods. Frequently Asked Questions (FAQs) How do you get epoxy off your hands quickly? To get resin off hands quickly, use vinegar, citrus-based hand cleaner, or baking soda with dish soap. Acetone works well for stubborn residue but should be used sparingly. What happens if you get epoxy on your skin? Epoxy resin on skin can cause irritation, redness, or allergic reactions if not removed quickly. Prolonged exposure can lead to more serious issues like chemical burns. Can you use acetone to remove epoxy? Yes, acetone to remove epoxy is effective, but it can dry out your skin. Always wash your hands thoroughly and apply lotion after using acetone. How to get UV resin off hands? UV resin can be removed using isopropyl alcohol or a citrus-based cleaner. If cured, gently rub with a pumice stone. How to clean resin off your hands without chemicals? For a natural approach, try vinegar, baking soda, or coconut oil to remove resin from skin without using harsh chemicals.

Can You Use a Palm Sander to Sand Seal Coat Epoxy
Blog

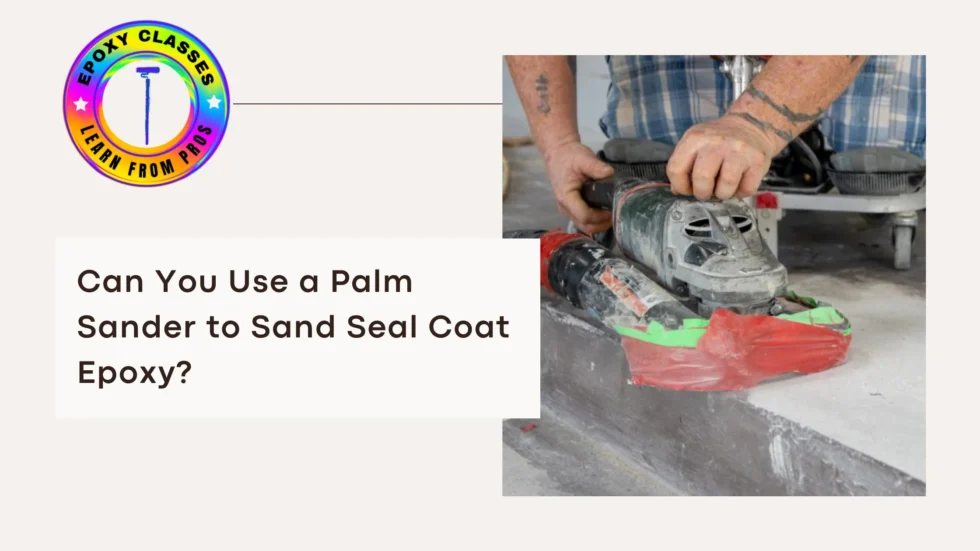
Can You Use a Palm Sander to Sand Seal Coat Epoxy?

Epoxy is a versatile and durable material, often used for countertops, floors, and other surfaces that require a sleek, polished finish. However, achieving that smooth finish can involve some careful sanding between coats, particularly with seal coats. If you’re wondering whether you can use a palm sander to sand your seal coat epoxy, the short answer is yes—but with the right technique and materials. In this blog post, we’ll cover everything you need to know about sanding seal coat epoxy, including what grit to use between coats, whether you need to polish epoxy after the flood coat, and how to properly use a palm sander for epoxy projects. Using a Palm Sander for Epoxy: Is It Safe? Yes, a palm sander can be used to sand epoxy, but it’s important to do it carefully. A palm sander is ideal for smaller projects, like countertops or tables, and can help you achieve a smooth, even surface between seal coats of epoxy. Since epoxy cures into a hard, glossy surface, it needs to be sanded before additional coats or polishing to ensure proper adhesion and a flawless finish. Related: Can You Use a Palm Sander to Sand Seal Coat Epoxy Tips for Using a Palm Sander on Epoxy: What Grit to Use for Sanding Between Seal Coats of Epoxy When sanding between seal coats of epoxy, the key is to use the right grit of sandpaper. Using sandpaper that’s too coarse can leave scratches that are visible in the final finish, while sandpaper that’s too fine won’t rough up the surface enough for the next coat to properly adhere. The ideal grit for sanding between seal coats of epoxy is typically between 220 and 320. A 220-grit sandpaper is coarse enough to remove any imperfections or bumps from the previous coat while providing enough roughness for the next layer to bond. On the other hand, 320-grit sandpaper offers a smoother finish if you’re working on a more detailed or delicate project. Steps for Sanding Between Seal Coats: Do You Need to Polish Epoxy After a Flood Coat? After applying a flood coat, which is a thicker layer of epoxy that levels itself out, polishing is not always required, but it depends on the finish you want. If you’re satisfied with the glossy, smooth surface that the flood coat provides, you can skip polishing. However, if you’re aiming for a truly mirror-like shine or want to remove any minor imperfections, polishing may be necessary. To achieve a polished look after the flood coat, wait for the epoxy to fully cure (which can take several days to a week, depending on the product). Once it’s cured, you can sand the surface with progressively finer grits of sandpaper, starting with 400 grit and working up to 1000 or even 2000 grit. Afterward, you can apply a polishing compound with a buffer or microfiber cloth to bring out a high-gloss finish. Palm Sander for Epoxy: Best Practices Using a palm sander for epoxy projects is an efficient way to sand between coats or prepare the surface for a final polish. However, here are a few best practices to ensure the best results: Conclusion: Sanding and Polishing Epoxy with a Palm Sander In summary, you can absolutely use a palm sander to sand between seal coats of epoxy, as long as you choose the correct grit and follow proper sanding techniques. Sanding between coats is essential to ensure adhesion and a smooth finish, and polishing after the flood coat is optional based on your desired final appearance. Whether you’re tackling a DIY countertop, floor, or art project, following these tips will help you achieve professional-looking results.

Can You Use Clear Packing Tape for Epoxy Edges
Blog

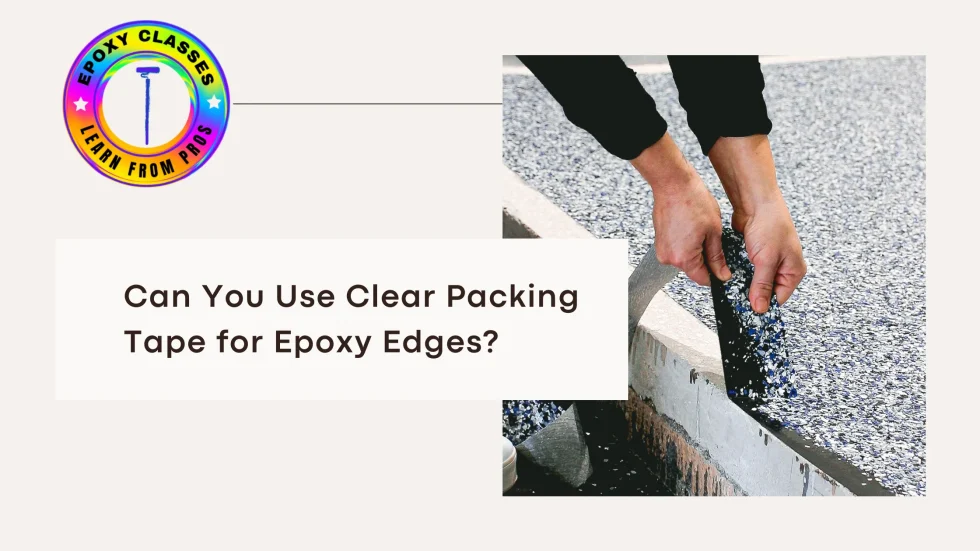
Can You Use Clear Packing Tape for Epoxy Edges?

When working on epoxy resin projects, containing and shaping the resin is critical for a polished final product. A common question many DIYers and professionals have is: Can you use clear packing tape for epoxy edges? The answer is yes, but with some limitations. This post will explore how clear packing tape works with epoxy, the best alternatives, and tips for achieving professional results. At Epoxy Classes NY, we provide hands-on training on epoxy application techniques, including how to properly prepare edges with tape. Enroll in our 3-day weekend classes and become a certified epoxy installer. Contact us at 631-305-1035 or email newyorkepoxy@gmail.com to learn more! Can You Use Clear Packing Tape for Epoxy Edges? Clear packing tape can be used to create barriers for epoxy resin, but it’s not always the most effective option. Here’s what you need to know: Benefits of Using Clear Packing Tape for Epoxy Edges Limitations of Clear Packing Tape Best Tape Options for Epoxy Edges While clear packing tape works for smaller projects, other options provide better results for different types of epoxy pours: 1. Tyvek Tape for Epoxy 2. Epoxy Release Tape 3. Masking Tape or Plastic Tape 4. Resin Tape How to Use Resin Tape for Epoxy Projects Using the right tape and applying it correctly ensures clean edges and minimal cleanup: 1. Prepare the Surface 2. Apply the Tape 3. Pour the Epoxy 4. Remove the Tape FAQs: Using Tape for Epoxy Resin Projects 1. What is the best tape for epoxy pours? Tyvek tape or epoxy release tape are the best choices due to their non-stick properties and durability. 2. Can you use clear packing tape for epoxy edges? Yes, but it’s better for smaller or shallow pours. For larger projects, use specialized tapes like resin tape or Tyvek tape to avoid leaks. 3. Does epoxy stick to masking tape? Epoxy can stick to regular masking tape, especially if it absorbs resin. Use plastic-coated masking tape for better results. 4. How do you remove epoxy from tape edges? After curing, gently peel off the tape. If residue remains, clean it with isopropyl alcohol or a scraper. 5. What is epoxy resin tape? Epoxy resin tape is a specialized non-stick tape designed for resin projects. It prevents adhesion and ensures clean edges during pours. Clear packing tape can be a quick and cost-effective solution for smaller epoxy projects, but for professional-grade results, using specialized tapes like Tyvek or resin tape is highly recommended. Proper preparation and execution ensure your epoxy project comes out flawless. To master the art of epoxy application, join Epoxy Classes NY for hands-on training. Our 3-day weekend classes cover everything from tape selection to achieving perfect edges. Contact us at 631-305-1035 or email newyorkepoxy@gmail.com to secure your spot today!

Is Epoxy Class 1 or Class 2 Liquid Flooring
Blog

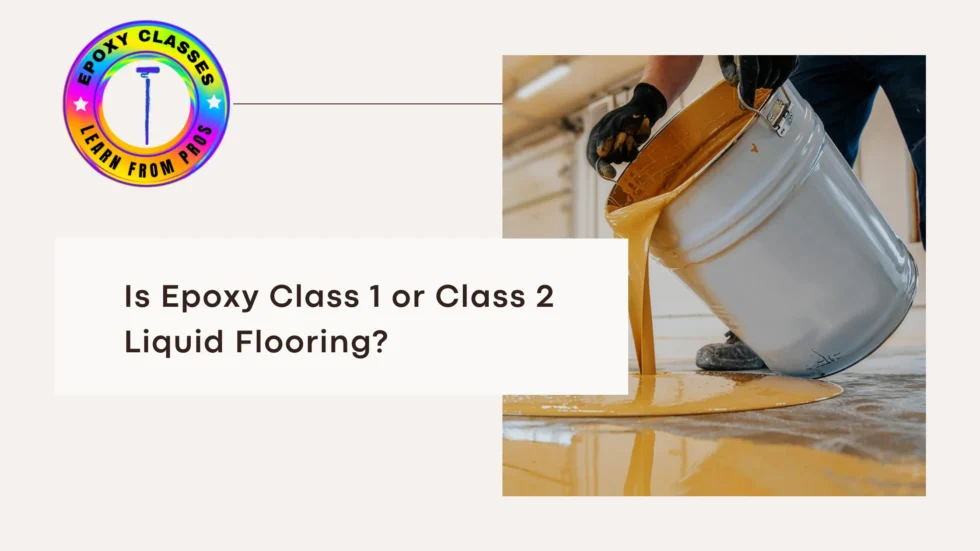
Is Epoxy Class 1 or Class 2 Liquid Flooring?

Find Out: Is Epoxy Class 1 or Class 2 Liquid Flooring? For epoxy flooring, it’s vital to know the differences between Class 1 and Class 2 liquid flooring. This knowledge helps in making informed choices about installation and uses. Epoxy flooring is a versatile, durable, and attractive solution. It works well in homes, businesses, and factories. Class 1 or Class 2 depends on the epoxy’s chemistry, thickness, and use. Class 1 liquid flooring refers to thin coatings for light-duty use. They are for decorative finishes or low-traffic areas. Class 2 liquid flooring has thicker, more robust coatings. They suit heavy-duty uses, like warehouses and factories, or high-traffic areas. Different Epoxy Types Epoxy resins have many uses, from industrial coatings to art. Their diverse formulations offer tailored solutions for varied needs. Choosing the right type of epoxy depends on knowing these differences. It would help if you matched them to your project’s needs. 1.Type III Epoxy Type III epoxy is a special, strong glue. It is very durable and used for structural work. It is often used in places that need resistance to stress and chemicals. 2.Generation 4 Epoxy Generation 4 epoxy, the latest in epoxy tech, is more flexible and stronger. It’s ideal for challenging environments requiring high-performance coatings. 3.High Viscosity Epoxy Resin A thick, gel-like epoxy is often used for filling gaps or bonding uneven surfaces. It provides excellent adhesion and ensures structural stability. 4.Two-Component Epoxy Resin (Epoxy A and B) Combine resin and hardener to trigger a chemical reaction. These two-part epoxies form a strong, lasting material. When Part A meets Part B, it turns from liquid to solid. The outcome is a tough substance valued for its strength and durability. 5.Epoxy Resin Base Cement for Large Holes This type of epoxy combines cement with resin. It’s perfect for repairing large holes or making strong bonds in construction. How Does Epoxy Work? When epoxy’s resin and hardener mix, a chemical reaction starts. The liquid turns solid, becoming a tough material. This change takes time, from minutes to hours. During this period, the mixture is still soft, allowing for creative work. However, once the time is up, the epoxy hardens into a permanent form. The curing process allows epoxy to bond to many surfaces. These include concrete, metal, and wood. So, it is a versatile epoxy resin bonding agent. Epoxy Elastic Modulus The epoxy elastic modulus determines the material’s flexibility or rigidity. High modulus epoxy is rigid and strong. It’s good for structural uses. Low modulus epoxy is more flexible. It’s ideal for dynamic, vibrating environments. Epoxy Thickness for Flooring Applications The thickness of epoxy flooring varies based on its intended use. Sikadur 35 Hi-Mod LV Sikadur 35 Hi-Mod LV is a low-viscosity epoxy. It is for structural repairs and crack injections. They penetrate deep into cracks, providing a permanent, high-strength bond. Applications of Epoxy Flooring Epoxy flooring is widely used in various environments, including: Creative Epoxy Applications For creative applications, workshops like Epoxy Classes NY are a great resource. These hands-on classes teach resin techniques suitable for both beginners and experienced crafters. Attendees learn about new methods. These include using mould release for epoxy resin and new resin mold ideas to boost creativity. Epoxy Safety and Standards For guidelines on epoxy safety and use, refer to the EPA. The EPA has detailed guidelines for using epoxy materials. They cover industrial uses and environmental concerns. You can explore more here: EPA’s Guidelines on Chemicals and Coatings. This resource ensures you meet safety standards when using epoxy for any project, whether residential, commercial, or industrial. Conclusion Is Epoxy Class 1 or Class 2 Liquid Flooring Epoxy is a versatile material that is used for everything from structural repairs to decorative floors. Know the epoxy types, thicknesses, and curing processes. Then, you will succeed in applying them in homes, businesses, and factories. Epoxy is a reliable choice for durability, function, and beauty. It works for both creative resin projects and heavy-duty Class 2 liquid flooring. For professionals, products like Sikadur 35 Hi-Mod LV and high-viscosity epoxy resin offer specialized solutions. Learn about the type of epoxy and its traits. Then, you can choose the best product for your needs. FAQs About Epoxy Flooring and Resin What are the different types of epoxy resin? The types of epoxy resin are: Type iii epoxy, generation 4, high viscosity, and 2-component. Each has unique properties suited for specific applications. What is the pot life of epoxy? The pot life definition refers to the amount of time the epoxy remains usable after mixing. Pot life varies depending on the formulation and environmental conditions. How thick should epoxy flooring be? The thickness depends on the application. Class 1 epoxy flooring is thinner. Class 2 is thicker and stronger, for industrial use. Can epoxy resin be used to fill large holes? Yes, products like epoxy resin base cement are for structural repairs. They are for large holes. They offer strong bonding and durability. What are the benefits of attending epoxy workshops? Epoxy Classes NY offers hands-on workshops in resin techniques. They teach attendees to use epoxy creatively and effectively.

Can You Put Polyurethane Over Epoxy
Blog

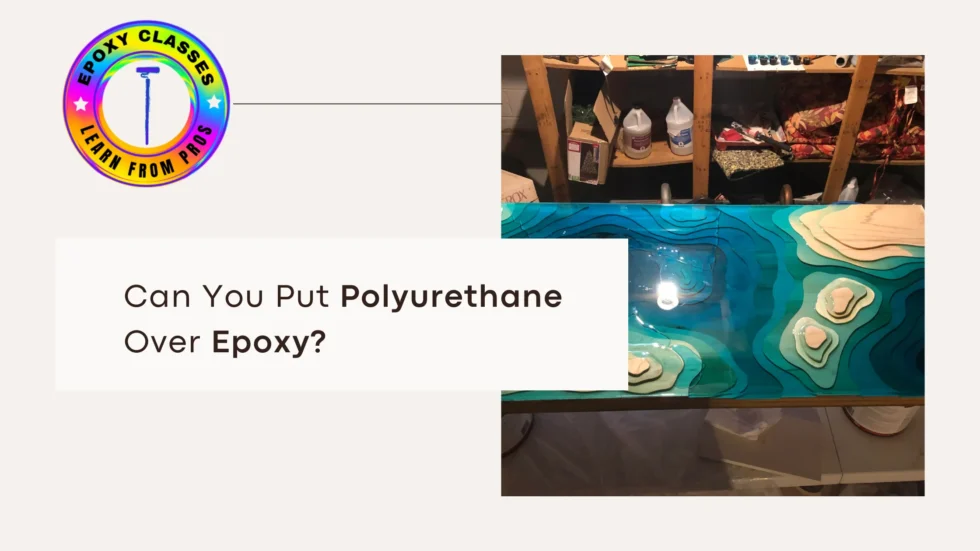
Can You Put Polyurethane Over Epoxy?

Can you put polyurethane over epoxy? This is a common question for those using epoxy coatings. Yes, but key factors matter for a strong and lasting finish. Polyurethane on epoxy offers extra protection. It increases durability and makes the surface look better. Applying urethane over epoxy is a smart choice. It works well for sealing garage floors, wooden tables, and resin projects. This guide will cover the differences between epoxy and polyurethane. It will also explain how to apply polyurethane over epoxy resin. Finally, we’ll look at key factors to consider when sealing an epoxy surface. For expert epoxy training, visit Epoxy Classes NY. You’ll learn professional techniques and industry best practices. Epoxy vs Polyurethane: What’s the Difference? Before applying urethane over epoxy, let’s look at their unique traits. You need to determine the properties of each solution. This will help you choose between urethane and epoxy in the materials sector. Epoxy and polyurethane together form a strong, long-lasting coating system. Can You Put Polyurethane Over Epoxy? Yes! Using polyurethane over epoxy resin is common in woodworking, flooring, and resin art. Here’s why this combo is great: How to Apply Polyurethane Over Epoxy Applying polyurethane over epoxy requires proper surface preparation and technique. Here’s how to do it right: Step 1: Let the Epoxy Cure Completely A common question is, how long after epoxy can you clear coat? You must wait until the epoxy is fully cured before applying polyurethane. This curing time usually takes 24 to 72 hours. It can vary based on the product and environmental conditions. Step 2: Sand the Epoxy Surface To ensure proper adhesion, lightly sand the cured epoxy top coat with 320-400 grit sandpaper. This removes any gloss and provides a better surface for polyurethane to bond. Step 3: Clean the Surface After sanding the surface, use a damp cloth or denatured alcohol to wipe it gently. This removes dust and debris for a clean finish. Avoid water, as it harms adhesion. Step 4: Apply the Polyurethane Top Coat You can dance with urethane over epoxy in many ways. Your polyurethane choice sets the stage for success. Step 5: Let It Cure Let the polyurethane epoxy resin cure according to the manufacturer’s instructions. Some formulas may require multiple layers for maximum protection. Best Polyurethane Top Coat Over Epoxy Choosing between polyurethane and epoxy resin depends on your project. A common question is: Can you epoxy over water-based polyurethane? Yes! Just prepare the surface carefully for the best adhesion. OSHA Safety Guidelines for Applying Polyurethane Over Epoxy Always wear gloves, goggles, and a mask when applying polyurethane over epoxy. This protects you from skin irritation and inhaling fumes. Ensure proper ventilation to reduce exposure to harmful chemicals. Follow OSHA safety guidelines when handling and applying epoxy and polyurethane coatings. Final Thoughts: Should You Use Polyurethane Over Epoxy? Polyurethane on epoxy resin toughens your project like armor. It improves UV resistance and allows for endless customization. With polyurethane, you protect wood, floors, furniture, and resin creations. Your epoxy finish gains both longevity and brilliance. Want to learn about epoxy and polyurethane? Join Epoxy Classes NY for professional training. Our training suits everyone, from beginners to experts. Master techniques to transform ordinary projects into stunning masterpieces. Get ready to create works that shine with lasting beauty! FAQs Can I Put Oil-Based Polyurethane Over Water-Based Epoxy? Yes, but be sure the epoxy is fully cured and sanded properly to ensure adhesion between the two coatings. Can You Epoxy Over Water-Based Polyurethane? Applying epoxy over polyurethane is like trying to glue two slippery fish. Polyurethane does not give epoxy a good grip. You need a better surface to make that bond strong! Why Is My Polyurethane Not Sticking to Epoxy? When polyurethane starts to flake or won’t stick, don’t worry! The issue often comes from poor surface prep. Before applying that shiny finish, sand your epoxy well and clean it thoroughly. A properly prepped surface is key to a strong bond! Can You Use Acrylic Over Epoxy? Acrylic coatings can enhance epoxy surfaces. However, they do not match the protective strength of polyurethane. How to Seal Epoxy for a Garage Floor? Transform your garage floor with a polyurethane sealer. This strong shield protects against scratches and improve your coating’s lifespan. An epoxy clear coat also strengthens high-traffic areas, keeping them tough. Your garage needs this armor for both style and durability.

Can You Paint MDF with Epoxy Primer
Blog

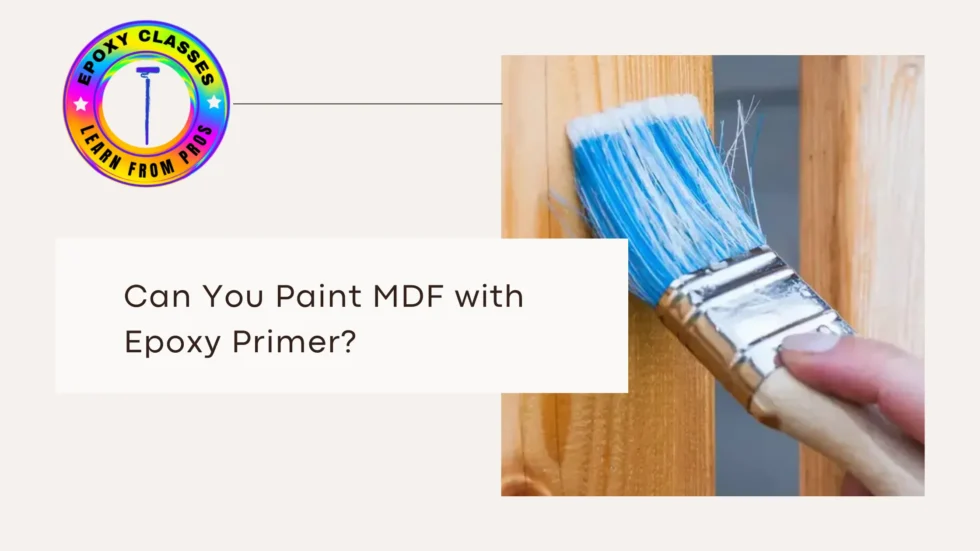
Can You Paint MDF with Epoxy Primer?

Medium-Density Fiberboard (MDF) is popular in furniture, cabinetry, and DIY projects. A common question is: Can you paint MDF with epoxy primer? The answer is yes! Coating MD with epoxy primer gives you a smooth, strong, and long-lasting finish. You can expect results that shine and endure over time! Discover how to paint MDF like a pro. We’ll discuss the best primer for MDF. Also, we’ll share key tips for achieving a flawless, professional finish. Why Use Epoxy Primer for Painting MDF? MDF acts like a sponge, soaking up everything around it. Without the right primer, it absorbs unevenly, leaving a splotchy look. Epoxy primer is your strong shield. It seals the surface and provides a smooth base for beautiful MDF paint. Benefits of Using Epoxy Primer on MDF Step-by-Step Guide: How to Paint MDF with Epoxy Primer 1.Prepare the MDF Surface Proper preparation is key to achieving the best results when painting MDF board. Materials Needed: MDF paint sprayers (optional) Steps: 2.Apply MDF Sealer or Primer Sealing MDF before painting is crucial for a smooth finish. Allow the primer to dry completely before moving to the next step. 3.Paint MDF with Your Desired Finish Once the primer is dry, you can apply the topcoat. Best Paint for MDF: How to Paint Over MDF: 4.Spray Painting MDF for a Professional Finish If you want a flawless finish, consider spray painting MDF. MDF paint spray ensures even coverage and reduces brush marks. Follow OSHA guidelines for safe epoxy handling to prevent skin irritation, respiratory issues, and chemical burns. Always wear protective gear, ensure proper ventilation, and follow safe storage and disposal practices. Learn professional epoxy safety techniques at Epoxy Classes NY. Best Products for Painting MDF Product Type Recommended Options How to Maintain Painted MDF After you finish your MDF board for painting, take care of it. This will help it stay looking new. Tips for Maintaining Painted MDF: Learn Professional MDF Painting Techniques Want to master the art of painting MDF? Epoxy Classes NY offers expert training in epoxy coatings, MDF prep, and spray-painting skills. Final Thoughts Can MDF be painted with epoxy primer? Absolutely! For a great finish, choose the right MDF primer paint. Use solid sealing techniques and quality MDF paint sprayers. Whether making furniture, cabinets, or tackling DIY projects, these steps will give you a smooth, durable finish. Your work will shine with a professional touch. With the right tools and techniques, painting MDF becomes a rewarding task. Want to improve your skills? Check out Epoxy Classes NY for expert training! Frequently Asked Questions (FAQs) What is the best primer for MDF edges? The best primer for MDF edges is an epoxy-based primer or a shellac-based sealer. This helps prevent excessive absorption and ensures smooth paint application. Can MDF be sanded before painting? Yes, sanded MDF before and between coats provides a smooth finish and improves paint adhesion. What’s the best way to paint MDF for a durable finish? The best way to paint MDF includes: Can MDF be spray-painted? Yes, spray painting MDF using MDF paint spray provides an even, streak-free finish. A paint booth floor covering can help keep dust away during spraying.

Hands-on epoxy flooring training in Johnstown, NY. Learn real skills, build a real business, and create floors that last.

TRAINING

Copyright © 2026 – Epoxy Classes NY

Scroll to Top