NEXT CLASS: AUGUST 28-30 • LIMITED SPOTS

Blog

How to Dissolve Cured Epoxy Resin
Blog

How to Dissolve Cured Epoxy Resin?

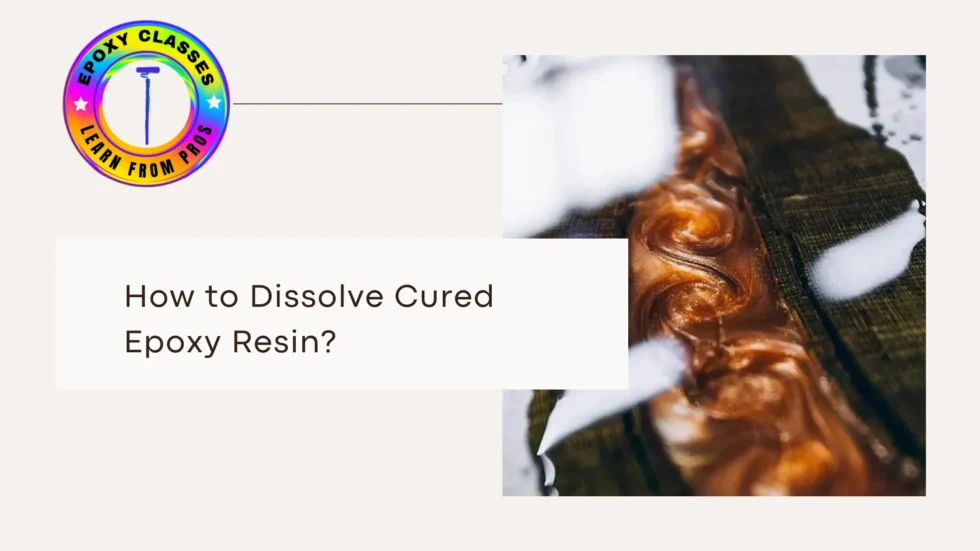
Do You Know How to Dissolve Cured Epoxy Resin? Cured epoxy resin is known for its strength and stronghold. However, it can be tough to remove when it gets where it shouldn’t. We will show you effective ways to remove epoxy resin. It covers epoxy spill, cleaning tools, and removing epoxy from concrete, wood, and metal. We’ll also explore the best tools, techniques, and products to help make epoxy cleanup easier. What Makes Cured Epoxy Resin Hard to Remove? Epoxy resin is a thermosetting polymer. Once it cures, it forms a solid, rigid material. It resists heat, chemicals, and wear. This makes it ideal for construction, art, and industrial use but difficult to reverse. If you’re wondering, “Does epoxy melt?” the answer is no. Epoxy does not melt after curing. So, specific removal techniques are essential. How to Dissolve Epoxy Resin 1. How to Dissolve Cured Epoxy Using Heat Heat is a strong ally in removing cured epoxy. High temperatures soften the stubborn resin, making it easier to handle. A good heat gun or even a hair dryer can work wonders. With heat, scraping or peeling becomes much simpler. Apply the heat evenly over the surface until the epoxy softens, then use a scraper to remove it. This method works well on wood or metal. Care is needed to avoid damage. For epoxy spill between wood, heating is the safest option to avoid gouging the material. Caution: Avoid overheating, as it may damage the surface underneath. 2. Chemical Solutions for Epoxy Resin Removal When heat isn’t an option, chemical solvents are the way to go. These strong liquids can easily dissolve epoxy. Common choices are acetone, denatured alcohol, and special epoxy removers. To use them, apply the solvent generously to the cured epoxy and let it sit for 15 to 30 minutes. This waiting period softens the resin, making it easy to scrape off. For delicate surfaces like glass, choose mild solvents to avoid damage. To remove epoxy from plastic, use isopropyl alcohol or a diluted acetone solution. They are usually the safest options. If you need to remove cured epoxy resin from delicate surfaces, opt for milder solvents. 3. Mechanical Methods: Scraping and Sanding For stubborn epoxy, manual removal methods like scraping and sanding are necessary. This is especially helpful for cleaning up epoxy spill on wood. It’s also great for stripping coatings, like epoxy paint thinner. Epoxy Resin Clean Up by Surface Type How to Remove Epoxy from Concrete Removing epoxy from concrete requires heavy-duty techniques: This method is best for cleaning epoxy floors. It also helps with removing epoxy paint from concrete. How to Remove Epoxy Resin from Glass Glass surfaces require a delicate approach: How to Remove Epoxy from Plastic Plastic can be damaged by strong solvents, so use caution: Epoxy Glue on Marble and Stone Surfaces Marble and stone require care to avoid damage: Tips for Epoxy Cleanup During and After Application How to Get Epoxy Off Hands When working with epoxy, it’s common to get some on your hands. Here’s how to handle it: How to Clean Epoxy Off Tools Epoxy can harden quickly on tools, making immediate epoxy cleanup essential: Handling Epoxy Spill For accidental spills: OSHA Guidelines for Safe Epoxy Handling Epoxy resin work exposes you to hazardous chemicals. So, follow OSHA safety standards. These guidelines aim to protect against the risks of handling epoxy. These include skin irritation, respiratory issues, and chemical burns. Conclusion Removing cured epoxy resin doesn’t have to be an overwhelming task. Know the surface you’re working with. Then, choose the right method. It can be chemical, mechanical, or heat-based. You can then remove any epoxy resin. For the best results, visit  Epoxy Classes NY to learn from the pros. Their hands-on training includes basic and advanced techniques. Frequently Asked Questions About Epoxy Resin Removal Is it possible to get rid of epoxy? Yes, cured epoxy can be removed with heat, solvents, or mechanical methods. Choose the method based on the surface and extent of the epoxy. How to remove hardened epoxy from metal? Use heat or a strong solvent like acetone. For stubborn spots, sand or scrape gently to avoid damaging the metal. What’s the best stripper for epoxy? Commercial epoxy removers designed for specific surfaces, like concrete or wood, are the most effective. Brands offering industrial-grade products often yield the best results. How to remove epoxy floor coatings? Use a chemical epoxy paint thinner or stripper. Scrape and sand the surface until the coating is fully removed, then clean it thoroughly. Can you clean epoxy spill between wood? Yes, you can use a heat gun to soften the epoxy and a scraper to remove it. Sanding may also be necessary for a smooth finish.
How Durable Are Plywood Epoxy Countertop
Blog

How Durable Are Plywood Epoxy Countertop?

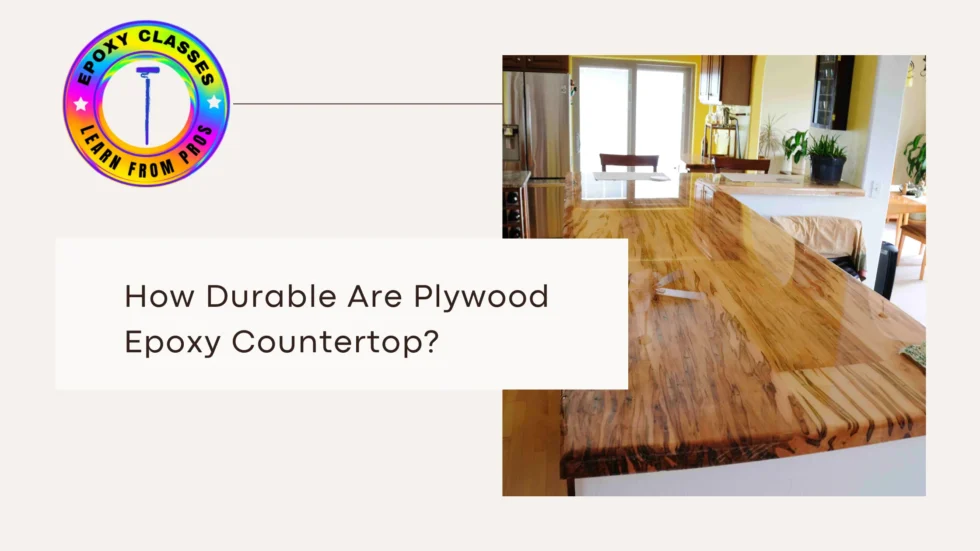
Epoxy countertops are taking the design world by storm. They are durable, beautiful, and incredibly versatile. Imagine strong plywood topped with a glossy, protective epoxy layer. This combination turns any space into a work of art. But just how durable are they? Let’s explore the benefits, maintenance, and risks of epoxy for your countertops before you invest in it. Why Choose Plywood Epoxy Countertops? Plywood epoxy countertops combine strength and beauty. They resist scratches, stains, and heat, easily handling daily use. The epoxy resin creates a hard, non-porous surface that meets every challenge. Transform your epoxy kitchen counter, bathrooms, and workspaces with beautiful countertops. They blend function and style, adding elegance to every corner. You can customize them with endless options. Choose from vibrant colors, bold patterns, and sleek finishes. Whether you prefer matte, glossy, or metallic, each choice adds a unique touch. Your space will become a personal masterpiece. The Benefits of Plywood Epoxy Countertops Addressing Safety Concerns When utilizing epoxy resin for surfaces, safety is crucial. Follow OSHA’s rules for using epoxy resin. They aim to limit exposure to harmful chemicals. How to Maintain Epoxy Countertops To ensure the longevity of your plywood epoxy countertops, follow these maintenance tips: Epoxy Countertop Classes: Learn the Art of Epoxy Interested in creating your own epoxy countertops? Check out Epoxy Classes NY to learn from experts. Their hands-on training covers basic apps to advanced techniques. You’ll master the craft of epoxy countertops. Epoxy Countertop Ideas For inspiration or a DIY project, here are some epoxy countertop ideas: Conclusion Plywood epoxy countertops suit modern homes perfectly. They’re durable, customizable, and affordable. Their sleek, seamless finish revitalizes any space. With proper care and safety standards, these countertops last for years. Choosing high-quality materials is essential. Remember, safety guidelines are crucial! Ready to transform your space with beautiful epoxy countertops? The options are limitless. You can take on a DIY project or hire a professional. With the right tools and guidance, you’ll learn to create and turn your countertops into art! Common Questions About Epoxy Countertops Do Epoxy Countertops Last? With proper care, they last a long time. These surfaces resist stains, scratches, and heat. They’re perfect for busy homes. Choose epoxy for lasting durability! Can Epoxy Be Used Over Laminate Countertops? Yes! Epoxy resin can do wonders for laminate countertops. It gives them a fresh, modern look. Just remember, proper prep is key! Ensure the surface is clean and dry. A light sanding will help the epoxy stick better, setting the stage for a stunning transformation. Is Epoxy Good for Bathroom Countertops? Yes! Epoxy resists moisture effectively. Its waterproof quality makes it an excellent choice for bathroom countertops and sinks. How Much Do Epoxy Countertops Cost? Pricing depends on the size of your countertop and the type of epoxy you choose. DIY epoxy kits are a cost-effective option. On the other hand, professional installations can be more expensive.

What’s the Difference Between Glue and Epoxy
Blog

What’s the Difference Between Glue and Epoxy?

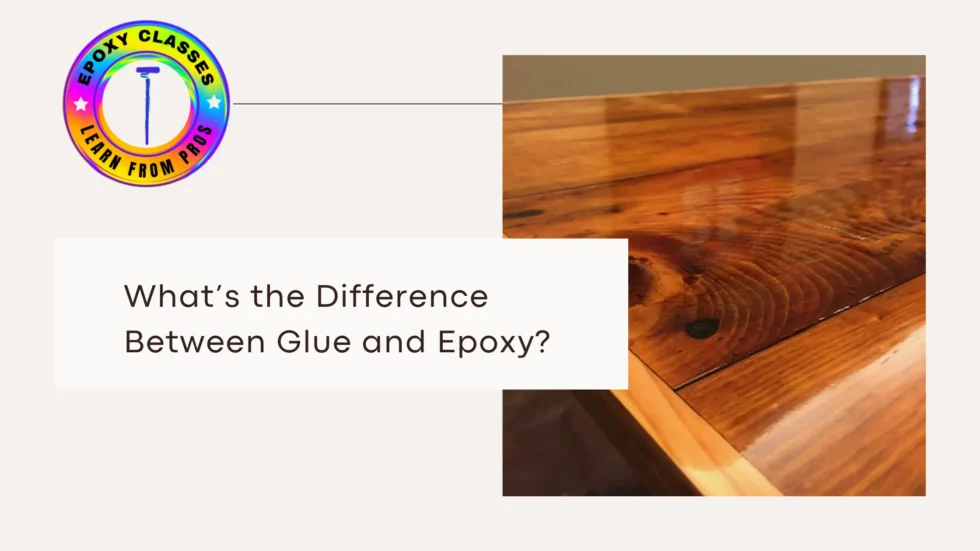
Adhesives are the unsung heroes of our daily lives. They’re in quick home repairs and huge industrial projects. Glue and epoxy are the kings of adhesives. Both bond materials well, but they are different. Knowing the differences helps you choose the right one for your project. The right adhesive is crucial. Whether you’re making something delicate or handling a big repair, it makes a big difference. What Is Glue? Glue is a versatile adhesive, expertly binding material. It acts like a matchmaker. Typically, it comes as a single-component wonder. Whether liquid, gel, or stick, it’s ready for action. User-friendly and convenient, glue excels in lightweight, non-structural tasks. Each application showcases a seamless blend of functionality and finesse. Common Types of Glue What Is Epoxy? Epoxy consists of resin and hardener. When they combine, a chemical reaction occurs. The result is a strong, durable bond that lasts. This adhesive is known for its versatility. It resists environmental challenges and bonds many materials effectively. Applications of Epoxy Feature Glue Epoxy Composition Single-component adhesive Two-part system (resin + hardener) Strength Moderate High (e.g., two-part epoxy glue) Curing Time Quick (seconds to minutes) Variable (can take 4–24 hours) Applications Lightweight materials, quick fixes Heavy-duty and structural repairs Durability Less resistant to water, heat, and chemicals Highly resistant to environmental factors Choosing Between Glue and Epoxy Decide between glue and epoxy, tailoring your choice to your project’s requirements. When to Use Glue When to Use Epoxy Special Applications of Glue and Epoxy Plastic to Plastic Bonding For strong plastic-to-plastic adhesion, epoxy outperforms regular glue. The best epoxy for plastic to plastic is very durable. It is ideal for items exposed to stress or the elements. Glass Bonding The best glass on glass glue is like glue. It ensures clear, strong bonds. It’s perfect for glass projects. Epoxy can also work on glass but often results in a less transparent finish. Metal Repairs The best epoxy resin for metal has superior strength and durability. It’s ideal for bonding or repairing metal. It’s also resistant to environmental stressors like moisture and heat. Fabric Bonding For fabric and plastic projects, the best glue is plastic to fabric. It holds well without damaging the materials. Learn Adhesive Techniques with Epoxy Classes Want to master the art of working with adhesives? EpoxyClasses NY offers comprehensive training to help you excel in epoxy and adhesive techniques. Their classes offer hands-on experience and expert guidance. They suit both DIY enthusiasts and professionals. OSHA Guidelines for Safe Epoxy Handling OSHA sets safety standards for handling chemicals, such as epoxy. For more info, visit the OSHA Hazard Communication Standards. They ensure safe, compliant practices. Conclusion What’s the Difference Between Glue and Epoxy? Glue and epoxy are both useful adhesives. But their differences make them suited for specific uses. Glue is best for quick fixes and lightweight materials. Epoxy is stronger and more durable for heavy-duty, structural work. Knowing each adhesive’s unique properties will help you choose the right one. This will ensure your project has outstanding results. To enhance your skills, consider taking classes at EpoxyClasses NY. You can learn to work with adhesives like a pro. FAQs Does Epoxy Bond to Silicone? Epoxy generally does not stick to silicone. For bonding silicone, use a silicone-specific adhesive. What Glue Works Best for Glass? Choose a glue like the best glass on glass glue for strong, clear, and durable bonds. Does Epoxy Work on Wood? Yes, epoxy is excellent for wood projects. It creates a strong bond and is often used for structural repairs and furniture assembly. Is Nail Glue Stronger Than Super Glue? Both are strong adhesives. But, super glue, especially the strongest cyanoacrylate glue, is more versatile. It works on various materials.

How to Mix Two Part Epoxy A and B
Blog

How to Mix Two Part Epoxy A and B?

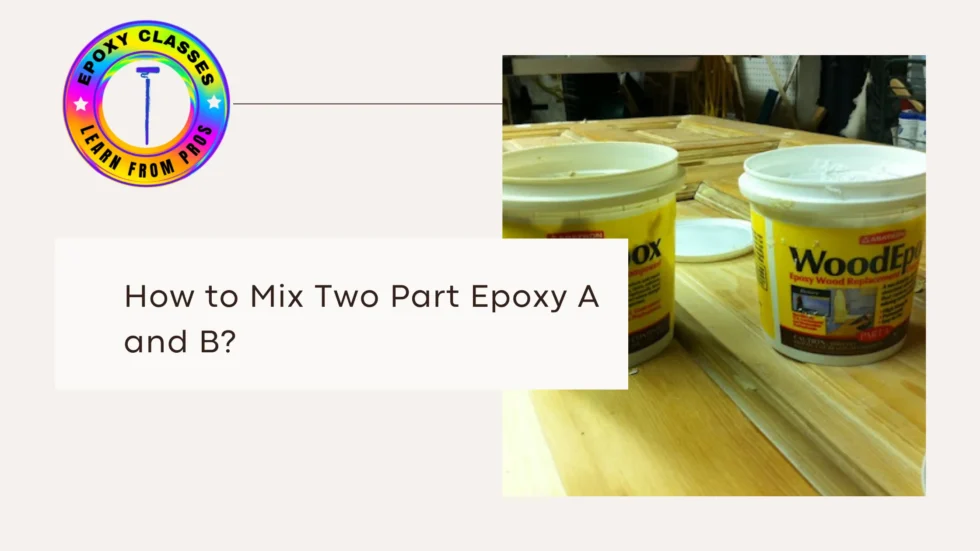
Two-part epoxy resin is a versatile crafting material. It finds use in crafting, construction, and industry. Mixing resin (Part A) with hardener (Part B) this step is important. It ensures great results in art, repairs, and sealing. We provide a step-by-step process. It answers common questions. It ensures your project turns out perfectly. Visit Epoxy Classes NY for expert training on epoxy resin. Learn to maximize its potential. Understanding Two-Part Epoxy Epoxy resin is composed of two parts: When mixed in the right ratio, these components harden into a strong, durable material. Improper mixing or wrong ratios can cause issues. They include incomplete curing or brittle results. Step-by-Step Guide to Mixing Resin and Hardener 1.Preparation is Key 2.Measure Correctly The resin-to-hardener ratio is critical. Most two-part epoxy resins have a 1:1 or 2:1 ratio. Check the resin instructions on the packaging for the exact measurements. 3.Combine Resin and Hardener 4.Mix Thoroughly 5.Avoid Overheating Key Considerations for Using Epoxy Resin How Does Epoxy Work? When resin and hardener are combined, a chemical reaction occurs, generating heat. This process is called exothermic curing. It turns the liquid mixture into a solid. Epoxy Set Time vs Cure Time Resin Curing Time and Environmental Factors Temperature and humidity significantly affect resin curing time. Warmer conditions accelerate curing, while cooler temperatures slow it down. Common Questions About Epoxy Resin What is the Result of Less Hardener in Resin? Using less hardener disrupts the chemical balance, causing incomplete curing. The resin may remain sticky, soft, or brittle. Always stick to the recommended resin to hardener ratio. How Much Does Resin Weigh? Epoxy resin typically weighs about 9–10 pounds per gallon. Use a scale to ensure accurate measurements for your project. How Much Epoxy is Enough to Mix at Once? For beginners, start with small batches to avoid waste and overheating. Large batches can cure too quickly and become unmanageable. How to Clean Epoxy Resin Cups? While disposable cups are convenient, you can reuse them by allowing the leftover resin to cure, then peeling it out. Alternatively, clean the cups with isopropyl alcohol before the resin cures. Troubleshooting and Tips for Success Why You Need Epoxy Classes For beginners and professionals alike, proper training can make a world of difference. Using an epoxy resin volume calculator and knowing how to mix resin will improve your skills. Mastering techniques for complex projects will help too. Epoxy Classes NY provides hands-on training and expert guidance. It will help you create stunning results. Safety First When working with epoxy, safety is key. Wear gloves, goggles, and a mask to shield yourself from chemicals and fumes. Follow EPA guidelines for handling materials safely. A careful approach ensures both your safety and a flawless mix. Final Thoughts: How to Mix Two Part Epoxy A and B? Correctly mixing epoxy resin and hardener is crucial. It ensures a durable, high-quality finish. Accurate measuring and knowing epoxy set vs. cure time are key. Following these steps will ensure your project’s success. Whether you’re repairing, crafting, or building, prepare, mix, and apply with care. For expert advice and training, visit Epoxy Classes NY. Unlock the full potential of epoxy resin. FAQs How Long Does Epoxy Take to Set? Epoxy set time varies. It is usually 20 minutes to several hours. It depends on the product and the environment. Warmer temperatures can accelerate the process. What Is the Cure Time for Two-Part Epoxy Resin? Most two-part epoxy resins need 24 to 72 hours to cure. The time depends on the formula and thickness applied. How Much Epoxy Resin Should I Mix? The epoxy must match your project’s size perfectly. Use an epoxy resin volume calculator or measure carefully. This prevents the mistake of over-mixing! Can I Use a DIY Epoxy Resin Cleaner? Yes! You can clean up uncured epoxy resin with isopropyl alcohol or a mixture of baking soda and vinegar. For cured resin, mechanical methods like sanding may be required.

Is JB Wood Epoxy Paintable
Blog

Is JB Wood Epoxy Paintable?

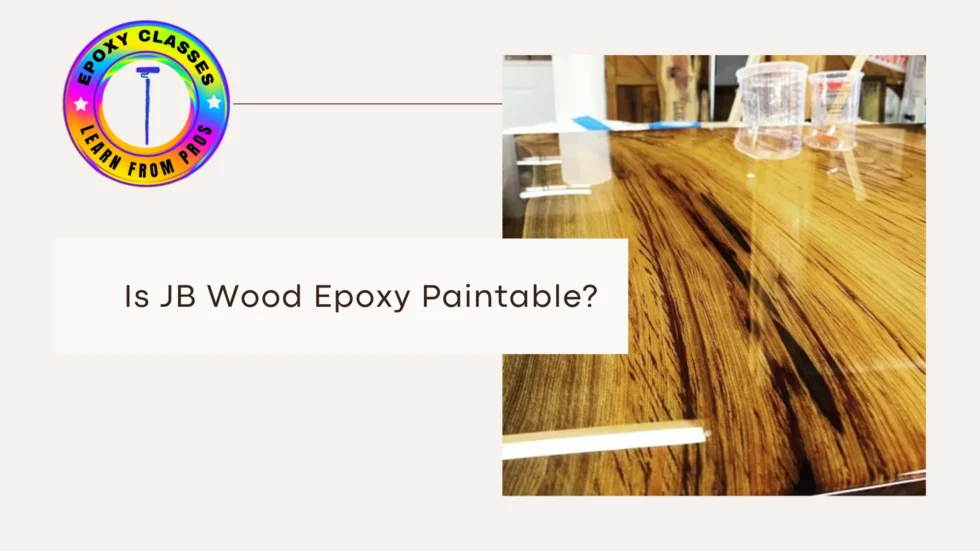
Epoxy has changed wood repair with its strength and versatility. Wondering is JB Wood Epoxy is paintable? Yes! Once it cures, you can sand, prime, and paint it easily. It blends well with wood. Both professionals and DIYers trust it. Whether tackling structural epoxy wood repair or addressing surface cracks, this product delivers reliable and lasting results, making it a go-to choice for professionals and DIY enthusiasts. For expert guidance and flawless results, check out Epoxy Classes NY. It will take your wood repair skills to the next level! Register Now. Why Use JB Weld for Wood Repair? JB Weld Wood Weld is among the best wood repair epoxy options available today. It repairs everything from structural epoxy wood to exterior wood. It’s trusted by both pros and DIYers. Its applications include: Features of JB Weld Wood Epoxy How to Use JB Weld Wood Epoxy Step 1: Preparation Clean the damaged area. Remove dirt, old finishes, or rotted wood. Ensure the surface is ready for the epoxy filler for wood to adhere properly. Step 2: Mixing How to mix J-B Weld? To create a strong bond with J-B Weld, mix equal parts of resin and hardener. Stir the mixture until it is a consistent color. This uniform hue means your adhesive is ready to use. Step 3: Application Smoothly apply the putty to fill gaps and cracks. This simple solution is perfect for wood hole repair. It will revive your projects. Step 4: Finishing Once cured, sand the surface smoothly using tools compatible with can you sand J-B Weld. Then, apply a primer designed for wood epoxy repair. Next, use your choice of epoxy paint or traditional finishes. Benefits of JB Weld for Wood Repair Can You Paint JB Weld? Absolutely! JB Weld’s paintable surface makes it easy to match the repair with the surrounding wood. Can You Use JB Weld on Wood? Yes, JB Weld adheres firmly to most types of wood surfaces, offering strong and reliable repairs. Can JB Weld Be Sanded and Painted? Yes! Sanding ensures a smooth finish, and painting or staining gives it a polished, professional look. Epoxy Repair for Rotted Wood: Restores strength and structure, making it a top choice for wood restoration products. Applications of JB Weld Wood Epoxy Why Choose JB Weld for Wood Repairs? JB Weld Wood Epoxy stands out for its unmatched durability and versatility. From epoxy for repairing rotted wood to wood epoxy filler exterior, it’s an all-in-one solution for projects of any scale. Unlike regular wood putty, this two-part wood epoxy is better. It forms a strong, waterproof bond. So, it is a good, waterproof wood filler for outside projects. Enhance Your Expertise with Epoxy Classes To master using epoxy on wood, or learn advanced techniques like filling how to use epoxy on wood with colored epoxy, check out Epoxy Classes NY. Their training ensures you get the best results in all your wood restoration projects. Safety Precautions When Using Epoxy When using products like JB Weld Wood Epoxy, follow safety guidelines. The U.S. EPA recommends wearing gloves, and eye protection and working in a well-ventilated area. This avoids skin contact and inhaling fumes. Mix epoxy components as directed to ensure safe application and proper curing. These precautions will protect your health. They will also ensure your wood repair projects succeed. Final Thoughts: Is JB Wood Epoxy Paintable? JB Weld Wood Epoxy is a trusted name for tackling wood damage with ease. Its strength as an epoxy wood repair product makes it a go-to for pros and DIYers. It can be painted and sanded, too. JB Weld is a trusty epoxy for wood rot repair, hole-filling, or general repairs. FAQs Is JB Wood Epoxy Paintable? Yes, JB Wood Epoxy is completely paintable. Once cured, you can sand the surface. Then, apply a primer, like a paint primer, to cover the epoxy wood repairs. Finally, finish with your desired paint or stain for a seamless look. Can JB Weld Be Sanded and Painted? Absolutely! After curing, sand JB Weld to remove imperfections. Then, paint it for a professional finish. It’s a top choice for wood restoration products because of its versatility. How Do I Use JB Weld for Structural Wood Repair? For structural epoxy wood repair, clean the damaged area. Then, mix the two-part wood epoxy thoroughly. Finally, apply it to the surface. Once cured, sand and paint as needed.

Are Epoxy Tables Good for Countertops
Blog

Are Epoxy Tables Good for Countertops?

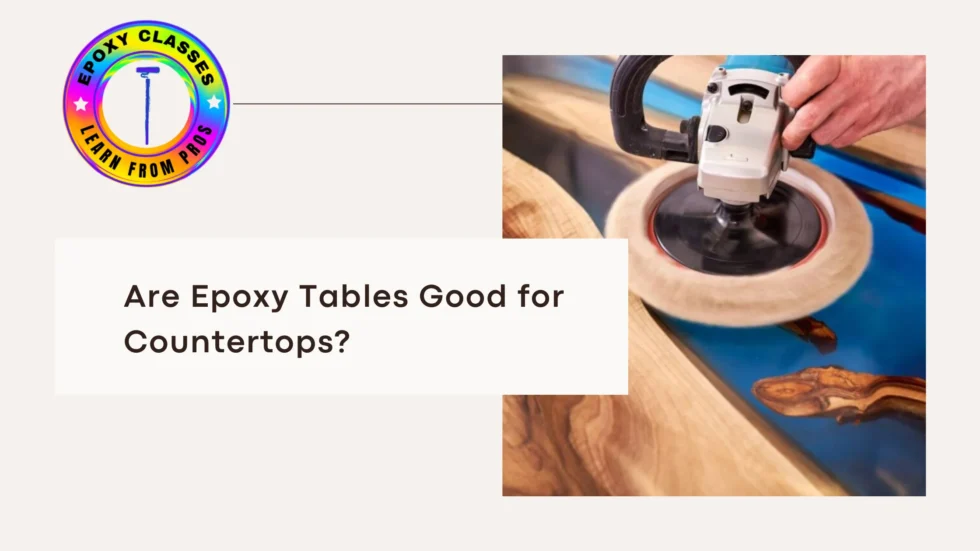
Epoxy countertops attract modern homeowners. Wood-epoxy tables offer customizable charm. However, epoxy surfaces have both advantages and disadvantages. So, how do they compare to other options? We’ll explore pros and cons of epoxy countertops, drawbacks, and key factors. This helps you decide if it’s the right choice or if another option is better for your space. Find top epoxy supplies and expert advice at Epoxy Classes NY. Their instructors help you create beautiful epoxy tables and countertops. Visit epoxyclassesny.com to enhance your epoxy skills today. What Are Epoxy Countertops? Epoxy countertops have a glossy resin coating. This gives them a smooth, captivating finish. They’re also versatile. They can mimic marble and rich wood. For example, epoxy live edge countertop and epoxy concrete tables showcase this blend. They’re truly beautiful. Epoxy combines beauty and durability, fitting well in any setting. Advantages of Epoxy Countertops  1.Customization Epoxy shines in everything from wood-epoxy fusion to vibrant tabletops. This flexible material allows for custom colors, intricate patterns, and unique finishes. You can craft countertops by mixing epoxy with wood or plywood, or create striking standalone surfaces. The only limit is your imagination. 2.Durability Epoxy countertops shine in kitchens and bathrooms. They resist heat, scratches, and stains. Tough stains, like red wine or ink, disappear easily. Moreover, they are durable and low-maintenance. This makes them ideal for busy homes. Epoxy combines elegance and functionality. It’s the top choice for countertops, handling life’s spills with ease. 3.Cost-Effective Looking for a stylish yet cheap kitchen upgrade? Consider epoxy countertops. They match granite and quartz in beauty but cost much less. Homeowners save 30% to 50% on installation by choosing epoxy over granite. So, you get a chic look without overspending. The lower material costs and simpler installation of epoxy cause the big cost difference. So, homeowners can spend their budget on other important parts of their project. 4.Easy Maintenance Epoxy countertops are easy to maintain and last long. Simply wipe with mild soap and water to remove spills and stains. This simple routine keeps your surfaces beautiful and stress-free! Epoxy, unlike natural stone, doesn’t need sealing or special cleaners. So, it’s perfect for busy homeowners. This low-maintenance aspect also protects against harsh chemicals and abrasive cleaners. It extends the countertops’ lifespan. Disadvantages of Epoxy Countertops While epoxy countertops offer many benefits, they also come with some challenges: 1,DIY Complexity Making a perfect epoxy or wood countertop is an art. It requires precision, skill, and a bit of finesse. Without the right tools and expertise, you risk bubbles, uneven surfaces, or discoloration. So, embrace the craft and let your creativity shine! 2.Short Lifespan “How long do epoxy countertops last?” Typically, they last 5-7 years, depending on use and care. Compared to materials like stone, this is relatively short. 3.Susceptible to UV Damage Epoxy countertops can yellow over time if exposed to direct sunlight. 4.Cost of Repairs Epoxy countertops are cheap to install, but repairs are costly and complicated. Their low price can hide future financial problems. Epoxy Countertop Styles 1.Live Edge Epoxy Countertop Epoxy live edge countertop combine natural wood edges with resin for a stunning, rustic look. Perfect for homes seeking a blend of modern and traditional designs. 2.Concrete and Epoxy Tables For a contemporary industrial vibe, concrete epoxy table or epoxy concrete tables are excellent choices. They’re durable and visually striking. 3.Wood Resin Countertops Wood and epoxy countertops are the highlights of any room. They combine warmth and elegance, turning your space into a calm retreat. So, it’s no surprise homeowners love them! Conclusion Is Epoxy Table Good for Countertops Epoxy countertops are versatile, affordable, and stylish. They shine in homes and businesses. These surfaces range from live edge to modern concrete blends. They combine beauty with practicality. Unmatched in appeal, epoxy creations effortlessly transform spaces. For premium epoxy products and expert guidance, visit Epoxy Classes NY. They provide high-quality materials and training to help you achieve stunning results in your epoxy projects. Safety Considerations When using epoxy, prioritize safety. Always wear gloves, goggles, and a mask. These protect against chemical risks and harmful fumes. For detailed safety rules, check the EPA. Handle resin carefully to ensure a safe, smooth process. FAQs About Epoxy Countertops Are epoxy countertops safe? Epoxy countertops are safe for kitchens once fully cured. They are non-toxic and food-safe, giving homeowners peace of mind. With proper installation, they are durable and hygienic. They are perfect for food prep and daily use. Can I use epoxy outdoors? While durable, epoxy outdoor tables may fade or yellow under prolonged UV exposure. It’s better suited for indoor use. How to avoid resin table scams? Be cautious when purchasing an epoxy resin table kit Home Depot or similar products. Verify the seller’s credibility to avoid a resin table scam. How to attach epoxy to wood countertops? For a secure bond, sand the surface and use high-quality epoxy for wood countertops. Follow manufacturer guidelines for best results. What is the best hammer for concrete formwork when installing epoxy tables? A heavy-duty claw or sledgehammer is ideal for concrete forming nails or formwork during the installation of epoxy concrete tables.

What Will Epoxy Resin Not Stick To
Blog

What Will Epoxy Resin Not Stick To?

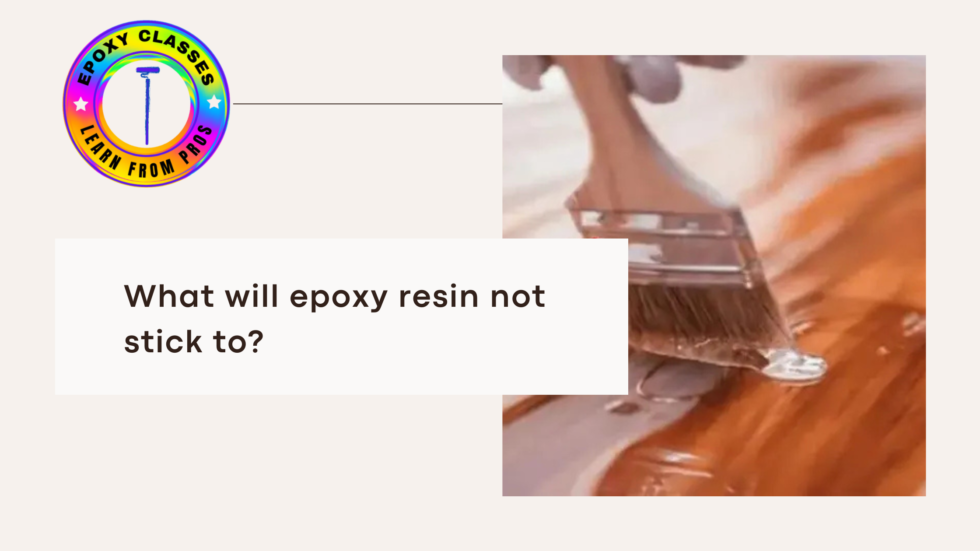
Discover What Will Epoxy Resin Not Stick To? Epoxy resin is popular among DIYers and professionals for its strength, durability, and beauty. It’s used in crafting, construction, and industry. However, success depends on knowing which surfaces don’t stick to epoxy. This knowledge prevents costly mistakes, saves time, and increases creativity. Understanding epoxy’s limits allows craftsmen to innovate, leading to stunning project results. We will explore materials that epoxy resin struggles to stick to. We will provide insights into its behavior with various surfaces. Finally, we will offer tips for better resin use. What Does Resin Not Stick To? Epoxy resin won’t stick to some materials. They have slick, non-porous surfaces or chemical properties. These materials are often used as barriers in resin projects. They ensure easy removal and clean workspaces. Common Materials That Resist Resin Does Epoxy Resin Stick to Plastic? This question often arises, as plastic is popular in crafting and construction. Does epoxy resin stick to plastic? It depends. Epoxy Mold Considerations Silicone is the best material for resin molds. Its flexibility and non-stick properties make it popular among crafters. Detailed designs come out perfectly, and cured resin pops out easily. For beginners in resin art, silicone molds are the ideal choice. Tips for Epoxy Molds What Will Resin Do to Aluminum? Epoxy resin bonds exceptionally well to metals like aluminum when prepped correctly. Sanding the aluminum surface increases adhesion. But applying mold release ensures the resin doesn’t bond permanently if that’s not desired. Use aluminum as a mold surface for flat resin projects. It is durable and gives smooth results. Does Resin Stick to Glass? Does resin stick to glass? Yes. Epoxy resin bonds to glass provided the surface is clean, dry, and free from oils or residues. This enables creative uses, like embedding designs in glass tables or making decorative glass art. Fiberglass Resin vs. Epoxy Resin When comparing fiberglass resin vs epoxy resin, it’s important to understand their distinct properties: Helpful Tips for Resin Projects Safety Resin Use Understanding safety protocols and material compatibility is crucial when working with epoxy resin. The OSHA has useful information on handling chemicals, like resins. It includes safety guidelines, protective measures, and hazards. These resources can help you stay safe while achieving your resin project goals. Conclusion It’s crucial to know what epoxy resin sticks to. It is also important to know what it doesn’t stick to. This knowledge is key to successful resin projects. Proper prep and surface selection are key. This is true for resin and silicone molds, and for glass, aluminum, or plastic. They make all the difference. Workshops like Epoxy Classes NY teach resin techniques. They suit both beginners and experienced crafters. They offer hands-on learning. Use mould release for epoxy resin. Explore new resin mold ideas to boost your creativity. With the right knowledge, you can make stunning, pro-grade resin projects. You will avoid common pitfalls. FAQs What does resin not stick to? Epoxy resin easily slides off plastic wrap and silicone molds. Parchment and wax papers offer no grip. Teflon-coated surfaces are too slippery. These materials are smooth, non-porous, and repel epoxy. Does epoxy resin stick to plastic? It depends. Epoxy resin struggles to bond with plastics like polyethylene and polypropylene. Sanding the surface or using adhesives like sticks putty epoxy can help. How do you make a resin mold? Use flexible silicone to make resin molds. These molds are non-stick, making it easy to remove your creations. You won’t have to worry about chips or cracks. Your finished resin pieces come out smoothly! Does epoxy stick to wax paper? No, epoxy resin doesn’t stick to wax paper. The waxy surface prevents adhesion. It’s ideal for lining workspaces in resin projects. Does resin stick to glass? Yes, resin can stick to the glass as long as the surface is clean, dry, and free from oil or dust.

Will Epoxy Resin Stick to Teak Oiled Wood
Blog

Will Epoxy Resin Stick to Teak Oiled Wood?

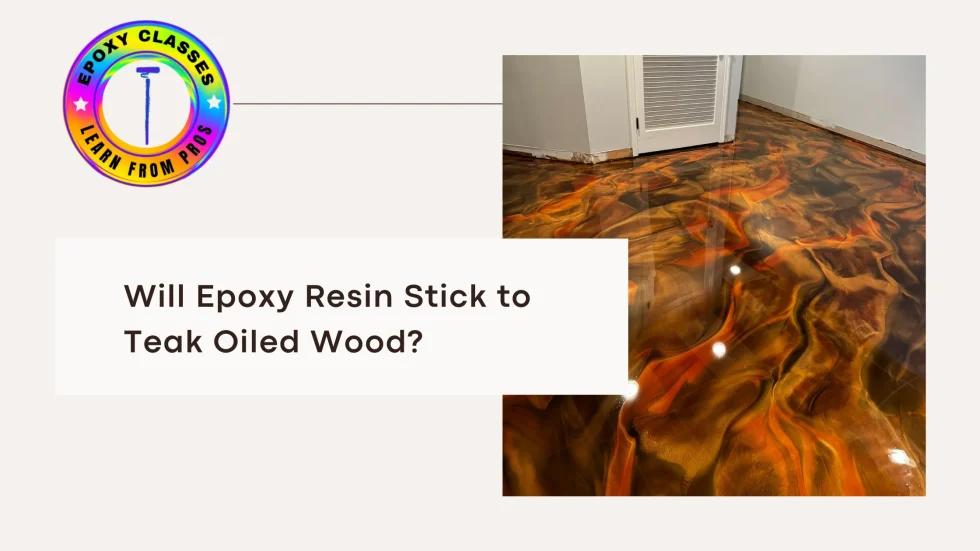
When working on wood projects, especially with teak, a common question arises: Will epoxy resin stick to oiled teak? It depends on several factors. They include the type of oil used and the surface preparation. Gluing teak or using epoxy resin on oiled wood requires care. You must check the type of finish. Let’s look at if epoxy resin can stick to tung-oiled and teak-oiled wood. It will also cover how to ensure a strong bond. Learn epoxy techniques and product choices for various surfaces. Use Epoxy Classes NY to master perfect resin applications! Can You Apply Epoxy Resin on Oiled Wood? Oily finishes protect the wood and repel adhesives like epoxy. However, CPES epoxy resin, despite its strength, fails on teak-oiled surfaces. The barrier from oils, such as teak oil, prevents good bonding. Epoxy cannot penetrate this oily shield, leading to weak adhesion. Thus, strong, lasting bonds are impossible with epoxy on oil-treated wood. Will Epoxy Resin Stick to Tung Oiled Wood? Tung oil, like teak oil, forms a smooth, water-resistant layer on wood. This layer makes it hard for epoxy resin to stick. The slick surface needs careful prep work. First, you must remove or reduce the oil finish to apply epoxy on tung-treated wood. Skipping this step will cause poor adhesion and ruin the project. How to Prepare Teak Oiled Wood for Epoxy Resin Proper surface preparation is crucial. It ensures good adhesion between epoxy resin and teak finish wood. How Long for Teak Oil to Dry? Let teak oil dry completely before applying epoxy resin. This takes 24-48 hours, depending on the climate. A dry surface ensures good adhesion. Rushing can cause problems, so be patient. Always check for dryness before applying resin. Does Teak Oil Go Bad? Teak oil doesn’t last forever. It can spoil if exposed to air or stored badly. Signs of spoilage are thickening and stickiness. This bad oil won’t protect wood properly. Heat or long storage can reduce its drying ability. Always check the oil first. Odd smells or consistency mean it’s time to replace it. Staying alert keeps wood safe and furniture beautiful. Safe Use of Epoxy and Wood Finishes For more on wood finishes and safe use of epoxy resin, visit the U.S. Consumer Product Safety Commission’s website. They offer valuable guidance on product safety and proper handling of chemicals. Learn more here (U.S. Consumer Product Safety Commission). This resource helps ensure safe and effective use of teak oil and epoxy resin in your projects. Conclusion In short, epoxy resin can struggle to stick to teak or tung oiled wood without proper prep. If you plan to use epoxy resin on teak finish wood, make sure to clean and remove any oil residue to ensure a strong bond. CPES epoxy resin can work well on prepped surfaces. But the wood must be clean, dry, and oil-free before use. By taking these steps, you can use epoxy resin in your wood projects. You won’t have to worry about poor adhesion. FAQs Will epoxy resin stick to teak oiled wood? No, epoxy resin does not stick well to oiled teak wood without proper prep. The oil creates a barrier that prevents the resin from bonding effectively. It’s essential to remove the oil finish before applying epoxy resin. What is the best way for gluing teak? Before gluing, clean teak well to remove oils and finishes. This step ensures better glue or epoxy bonding. Stripped wood leads to a stronger connection. It’s vital for successful teak joinery. How long for teak oil to dry? Wait 24-48 hours for teak oil to dry. Drying time depends on the climate. Ensure the wood is fully dry before using epoxy or adhesives. Does teak oil go bad? Teak oil quality drops over time, especially if stored poorly. Signs of spoilage include thickness, stickiness, or a rancid smell. Replace the oil when you notice these signs for the best results.

What Is Good Adhesive to Glue Vinyl Siding Patch
Blog

What Is Good Adhesive to Glue Vinyl Siding Patch?

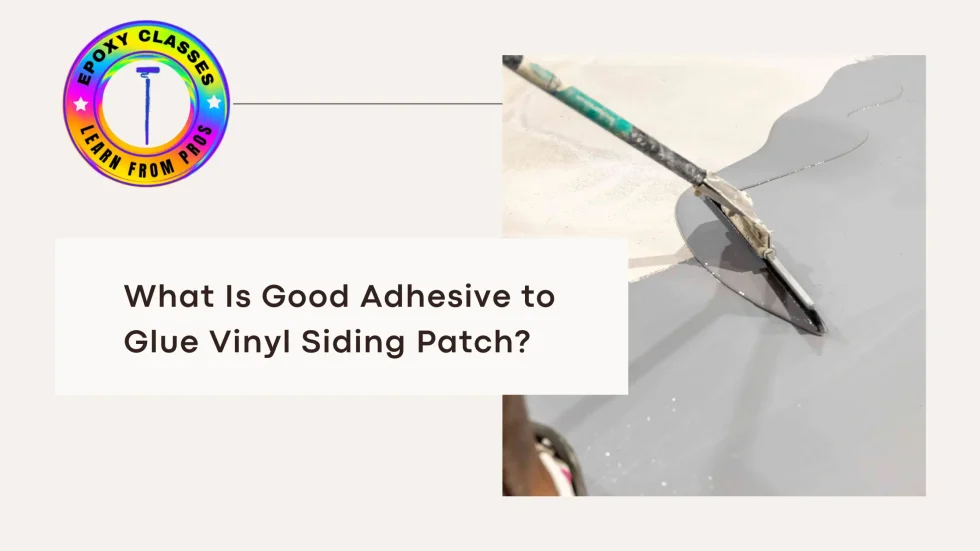
For vinyl siding repair, gluing vinyl siding is often the best solution, especially for small patches. It’s easy and effective whether it’s a crack, hole, or loose section. Finding the best adhesive for vinyl siding is crucial to ensuring the repair lasts. But with so many options, how do you know which vinyl siding adhesive is right? Let’s find out how to reattach vinyl siding, the different types of vinyl siding glue, and the main features to look for in an adhesive for vinyl siding. Learn epoxy techniques and product choices for different surfaces at Epoxy Classes NY. Why Use Adhesive for Vinyl Siding Repair? Vinyl siding is known for its durability and weather resistance, but it can still suffer from damage due to impacts, wear and tear, or the elements. When it’s time to repair a section of vinyl siding, gluing vinyl siding can be a quick and effective method, particularly for minor damage. Using the right vinyl siding glue ensures a strong bond that will withstand wind, rain, and temperature fluctuations without damaging the siding. What is the Best Adhesive for Vinyl Siding? 1.Epoxy Siding Repair Adhesive Vinyl siding repairs need specific adhesives. Each fix requires a unique approach due to different damage types. Choosing the right glue is crucial for a strong bond. Not all adhesives work for every problem. Match the glue to the task for the best results. Epoxy adhesives are ideal for repairing vinyl siding. Their strong bonds ensure durable, high-quality fixes. These adhesives provide lasting repairs on exterior cladding. They can handle stress from changing temperatures and conditions. They are ideal for fixing cracks or small holes in vinyl siding. 2.Polyurethane Vinyl Siding Adhesive Another great option is a polyurethane vinyl siding adhesive. These adhesives form a strong, flexible bond after curing. It’s ideal for areas exposed to heavy temperature changes. It works well for gluing vinyl siding. It is flexible, so it won’t crack from temperature changes. 3.Super Glue for Vinyl Siding For small, minor repairs, super glue or cyanoacrylate can be a quick solution to glue vinyl siding. But it works for small cracks and for temporarily securing loose vinyl siding. However, super glue is not recommended for large repairs or outdoor use. It may not provide a lasting bond. 4. Construction Adhesive For large patches or bonding vinyl siding to another surface, use construction adhesive. It is a heavy-duty option. These adhesives are specifically designed for outdoor use, making them resistant to the elements. Construction adhesives provide a strong bond for larger repairs. They do, however, take longer to cure. Key Features to Look for in Vinyl Siding Glue When choosing the right vinyl siding adhesive, there are several important factors to consider to ensure a long-lasting repair. The adhesive should be weather-resistant, and able to withstand temperature fluctuations, moisture, and UV exposure. It should create a strong bond without cracking or weakening over time. A fast-setting adhesive is helpful for convenience, especially for small repairs. Also, an adhesive that remains flexible after curing is better equipped to handle the natural expansion and contraction of vinyl siding. How to Reattach Vinyl Siding with Adhesive Follow these steps to use siding adhesive for a secure repair: 1.Clean the Area: 2.Apply the Adhesive: 3.Position and Secure: 4.Let It Cure: Safety Tips for Using Adhesives in Home Repairs When using adhesives for vinyl siding repair, safety is key. It ensures a successful, risk-free repair. The CPSC has info on product safety and handling materials, including adhesives. These guidelines will help you use safe, effective products. They will also protect your home and health. Conclusion What Is Good Adhesive to Glue Vinyl Siding Patch? For vinyl siding repairs, the right adhesive can make all the difference. For small cracks or larger patches, use the right vinyl siding adhesive. It will make your repairs strong, weather-resistant, and long-lasting. For gluing vinyl siding, use epoxy or polyurethane adhesives. They are strong and flexible. For larger areas or an industrial solution, use construction adhesives. Use the right tools and the best adhesive for vinyl siding. You can then repair your siding and restore your home’s appearance and integrity. At Epoxy Classes in Upstate New York, we teach epoxy use. We help homeowners, contractors, and DIYers with projects like vinyl siding repairs. Our expert instructors provide hands-on training. It ensures you get the best results with every repair. FAQs Will glue vinyl together effectively? Yes, with the right vinyl siding adhesive, such as epoxy or polyurethane, you can create strong and lasting bonds for repairs. How does epoxy siding repair work? Epoxy adhesives fill cracks and bond patches. They are a strong, weather-resistant solution for vinyl siding. How do I choose the best adhesive for vinyl siding? Pick based on damage:

Learn Epoxy Flooring from the Pros Certification Classes Open Now
Blog

Learn Epoxy Flooring from the Pros: Certification Classes Open Now

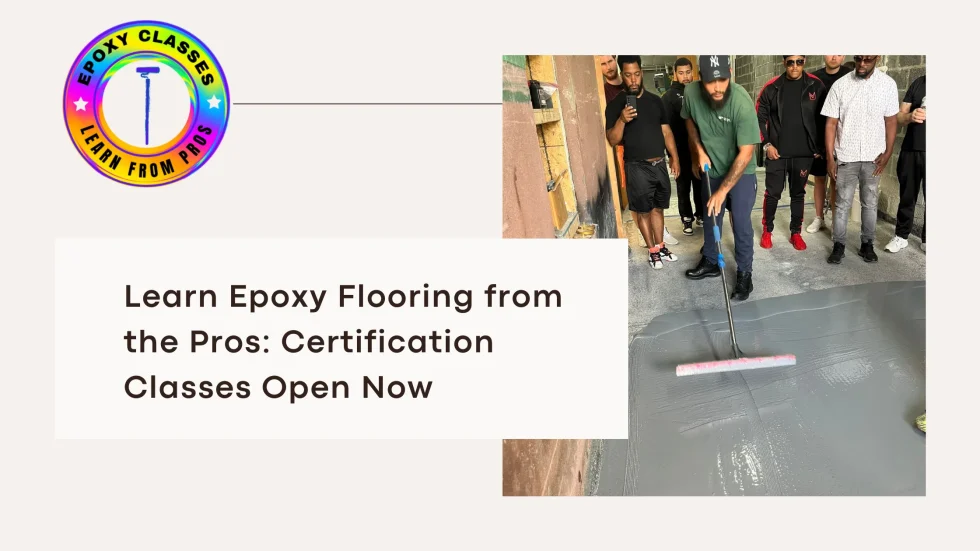
Epoxy flooring is a popular choice for homes and businesses. It is durable, versatile, and attractive. If you’re looking to get into this flourishing industry, now is the perfect time to learn from experts. Epoxy floor resin, epoxy coat and performance, and epoxy flooring materials are at the heart of every successful project. Our Epoxy Classes in Upstate New York will help you master these skills. Meet Lucas, Your Expert Instructor Lucas, the teacher of  Epoxy Classes in Upstate New York teaches the classes. He has years of experience and a passion for education. A native of upstate New York, Lucas shifted from construction to become a leader in epoxy coatings. With projects from 300,000 sqft commercial jobs to residential epoxy resin flooring, Lucas now helps others succeed in this booming field. What You’ll Learn The classes teach the craft in-depth. They start with the basics: What is an epoxy floor? How is epoxy resin made? You will learn about epoxy flooring types, like metallic, flake, and quartz. You’ll also learn the pros and cons of epoxy garage floors. Why Epoxy Flooring Is a Smart Career Choice The epoxy flooring industry is booming, with high demand across various sectors. The reason for this is that many old and new construction builds are requiring epoxy resin as the flooring. It is not only popular in homes and offices, but also in industrial settings. Mastering epoxy resin and flooring materials can lead to a great job. Whether you focus on garage floor epoxy or commercial epoxy, your epoxy coating skills will be in demand. Certification Benefits After the course, you’ll be ready for any project. This includes epoxy flooring in factories and epoxy floors in homes. The training includes: Get certified. Learn from the best. Then, start your career in epoxy flooring! at  Epoxy Classes in Upstate New York classes are filling up fast, so register now to secure your spot. Sustainable Building Practices with Epoxy Flooring With rising eco-awareness, sustainability is now key in choosing construction materials. Low-VOC, eco-friendly epoxy coatings for flooring are a good choice for eco-conscious clients. For more on sustainable building and epoxy flooring, visit the U.S. EPA Green Building Program. Epoxy lasts a long time and is very durable. This reduces waste and resource use. So, it’s a smart, sustainable choice for homes and businesses. Conclusion If you’re looking to break into a thriving industry, epoxy flooring is a fantastic career choice. As demand for epoxy floors rises, learn from the pros. It will help you succeed in both residential and commercial spaces. Our Upstate New York classes teach you to master epoxy floor. They provide hands-on training to make you an expert. This course will help you succeed. It will teach you to create stunning epoxy resin floor coatings and run your own business. Don’t wait—register now and unlock the potential of epoxy flooring! FAQS How thick is epoxy flooring? The thickness of epoxy flooring can vary depending on the specific needs of the project. Epoxy floors are usually 1-3 millimeters thick. For added strength, epoxy aggregate flooring may be applied in thicker layers. How long for epoxy floor to cure? Epoxy floor may dry in 24 hours. But full curing takes up to 72 hours for peak durability. Factors like humidity and temperature can affect curing time. What is epoxy resin non-slip flooring? Epoxy resin non-slip flooring is a special epoxy. It has textured additives to prevent slips and falls. Silica sand, aluminum oxide, or vinyl paint chips can be added to increase traction. It’s perfect for high-traffic or safety-sensitive areas, like garages, kitchens, and commercial spaces. What are the pros and cons of epoxy garage floor? Epoxy garage floors are durable, easy to clean, and can hold heavy loads. Cons may include needing to prep the surface. If not applied correctly, it may crack over time. How durable is epoxy flooring? Epoxy flooring is extremely durable and resistant to chemicals, stains, and impacts. It is one of the most durable flooring options. So, it is ideal for both residential and commercial epoxy resin applications.

Hands-on epoxy flooring training in Johnstown, NY. Learn real skills, build a real business, and create floors that last.

TRAINING

Copyright © 2026 – Epoxy Classes NY

Scroll to Top